Styling your kitchen shelves can feel a bit like composing a song. Each material you place—the earthy bass of ceramics, the bright chime of glass, the warm hum of wood—is a distinct instrument, and the best way to style kitchen shelves by decor type is to arrange them so they create harmony, not noise. The goal isn’t a static, museum-like display, but a collected, personal look that feels both organized and inviting. To get there, we’re going to explore two clear paths: a simple, foolproof formula for styling with each material individually to build your confidence, and a more nuanced approach for masterfully mixing ceramics, glass, and wood together. Whether you’re starting from scratch or just need a refresh, these kitchen shelf styling ideas will help you create a space that sings.
The best way to style kitchen shelves by decor type is to treat each material as a distinct voice in a visual composition. For ceramics, create grounded clusters; for glass, play with light and transparency; for wood, add warmth and texture. The key is balancing visual weight and leaving intentional negative space. Start simple, then layer for a collected, personal look that feels both organized and inviting.
The Simple Path: A Foolproof Formula for Each Material
If you’re new to styling shelves, start here. This approach treats each material as a solo performer, letting you master its unique rhythm before creating a full ensemble. The goal is clarity, balance, and a foundation you can build on.
Ceramics: The Anchor
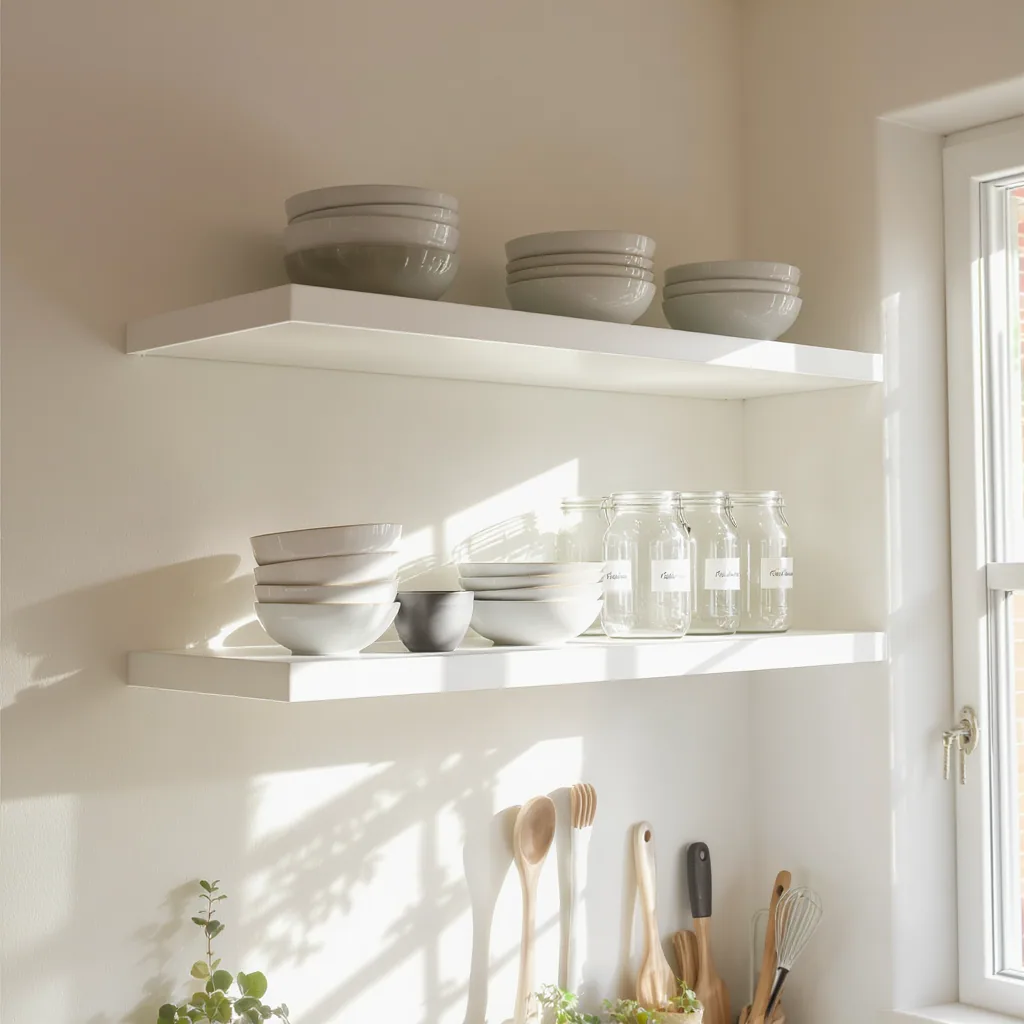
For your ceramic kitchen shelf decor, think grounded and substantial. Ceramics add visual weight and color. Start by grouping items in odd numbers (three or five works well). Place the tallest piece at the back or to one side, and layer smaller pieces in front. Stacking bowls or nesting cups is a great way to save space and create a cohesive unit. The key is to avoid scattering single pieces; a tight cluster feels intentional.
Glass: The Light-Bringer
The magic of glassware shelf styling lies in its interaction with light. To style glass effectively, mix clear and subtly colored pieces. Line up clear glass canisters or jars for a clean, airy look, and add a pop with a single blue or green glass bottle. Because glass is transparent, it’s crucial to keep the contents tidy—fill jars with uniform ingredients like pasta, rice, or coffee beans. This creates rhythm and prevents visual clutter.
Wood: The Warmth
Wooden decor brings organic texture and warmth. Use functional items like a small cutting board, a set of olive wood utensils in a jar, or a simple bowl. Lean a board against the back of the shelf or lay it flat. Because wood tones can vary, try to keep the wood items on a single shelf in a similar finish (e.g., all light oak or all dark walnut) for a harmonious feel. One standout wooden piece often has more impact than several small ones.
A practical tip for any of these formulas: leave at least 30-40% of the shelf surface empty. This “breathing room” is what makes a arrangement feel styled, not stuffed.
The Advanced Path: Mastering the Mix of Materials
Once you’re comfortable styling each material alone, you can create a richer, more personal look by combining them. This is where your kitchen shelves truly start to tell a story. The core principle is balance—managing visual weight, texture, and transparency.
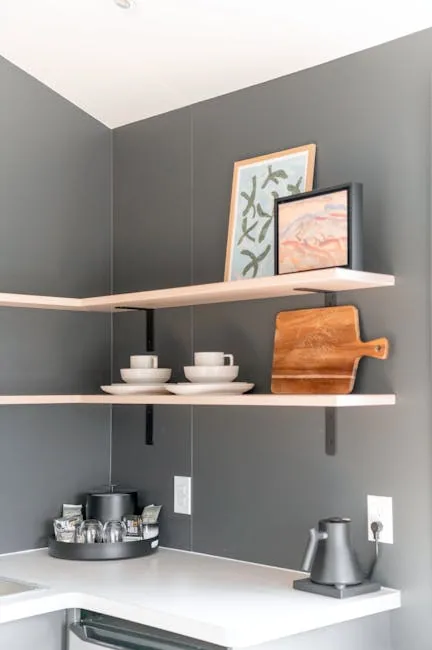
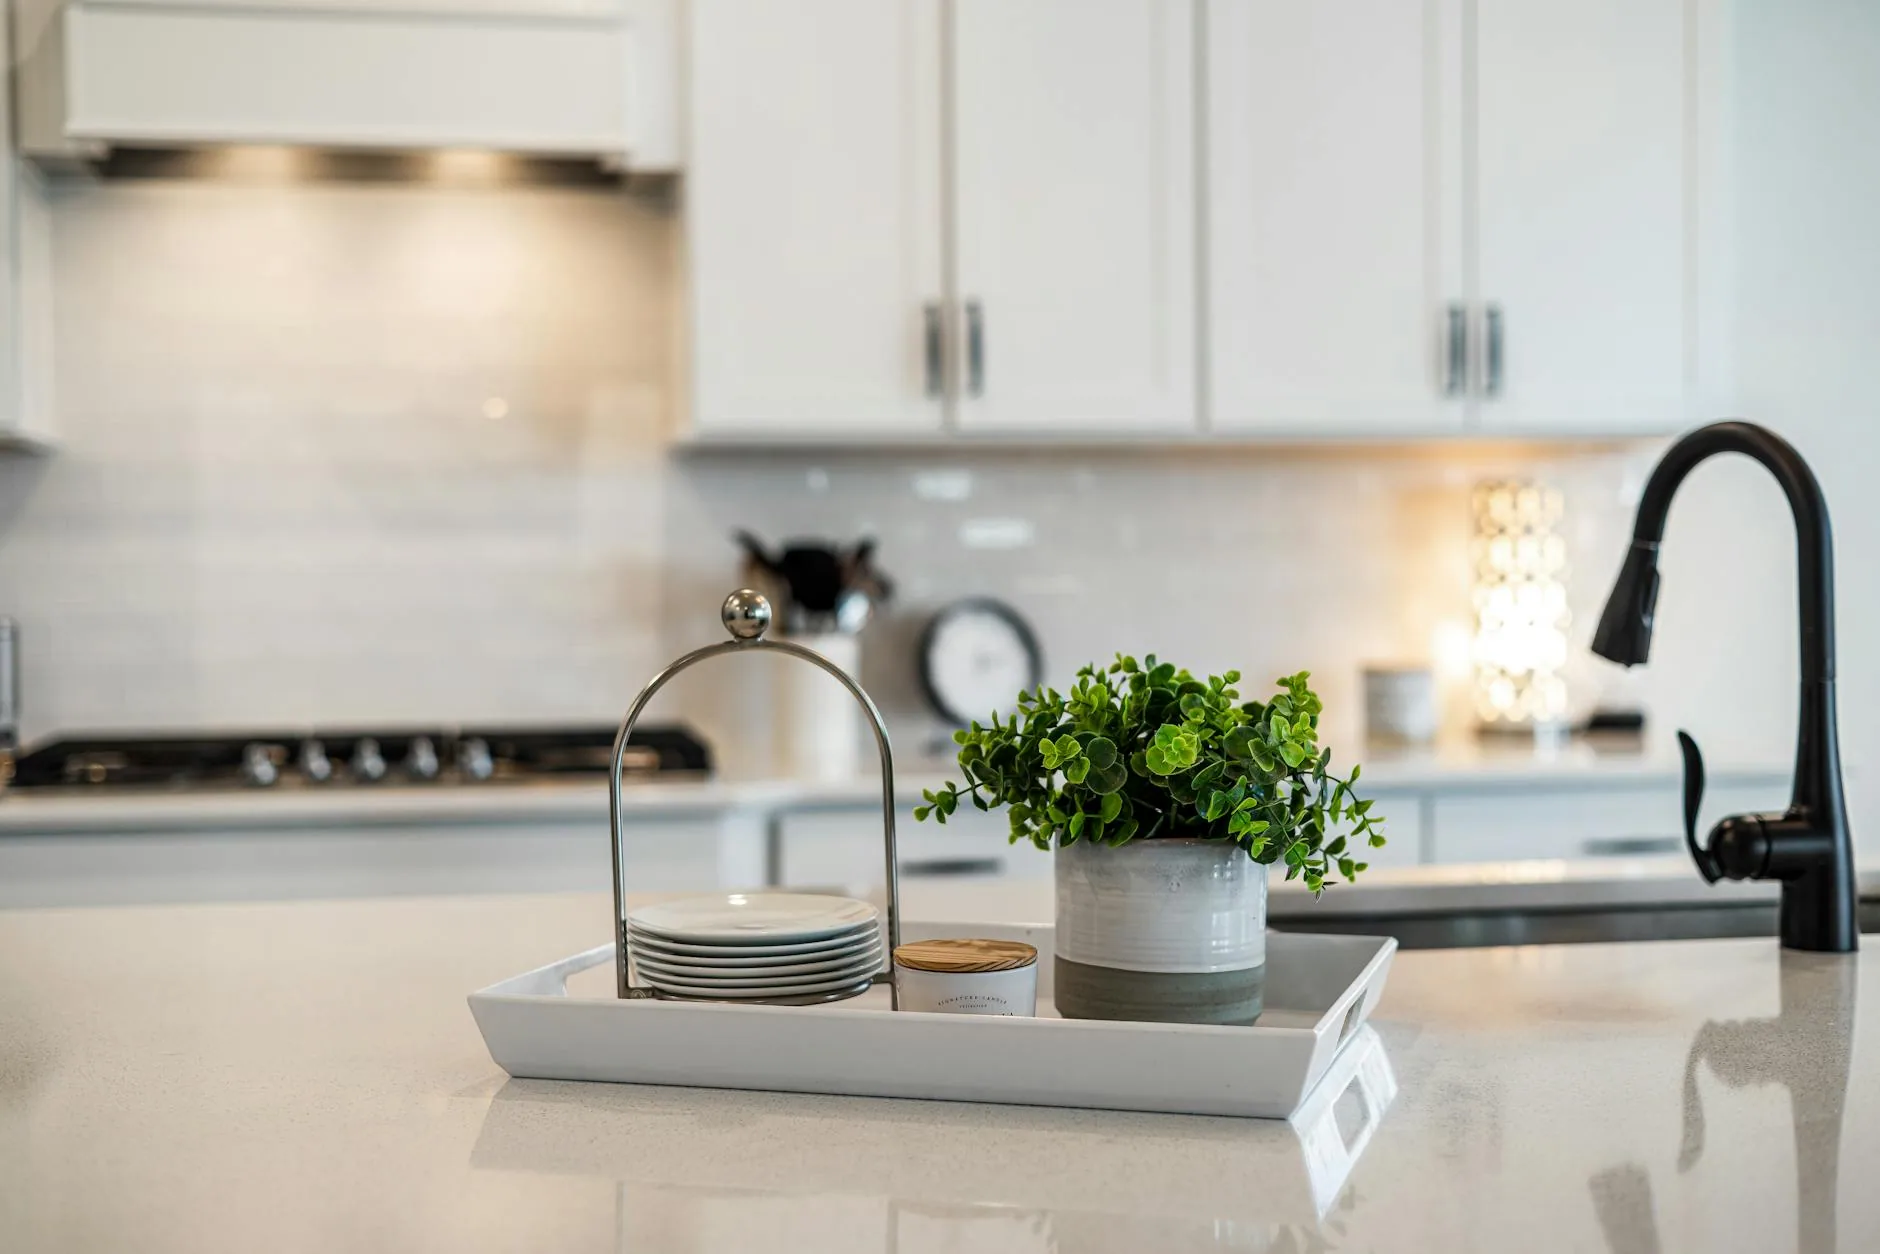
Photo by Andrea Davis on Pexels
Assign a Primary Material
Start by choosing a dominant material for each shelf or zone. This is your anchor. For example, a shelf might feature a collection of rustic ceramic bowls as its primary element. This gives the eye a clear starting point and prevents the look from becoming chaotic.
Introduce a Second for Contrast
Next, layer in a second material that provides a clear contrast to the first. If your primary is heavy, matte ceramic, introduce the lightness and transparency of glass. A couple of clear glass canisters or sleek tumblers beside the ceramic bowls will break up the solidity and play with light. This contrast is the heart of mixing materials on kitchen shelves.
Add a Third as a Small Accent
Finally, include a modest wooden element to add warmth and organic texture. In our scenario, a small, beautiful wood cutting board placed beneath a ceramic bowl, or a wood-handled utensil tucked into a glass jar, completes the trio. The wood acts as a visual bridge, softening the transition between the other materials.
Always step back and assess the visual weight distribution. A heavy ceramic platter on one end should be balanced by a cluster of glass jars or a stack of books on the other. It’s not about symmetry, but about a feeling of equilibrium.
Dos and Don’ts by Decor Type
These quick-reference lists will help you sidestep common pitfalls and elevate your styling with confidence.
Ceramics
DO: Group in odd numbers for a natural look. Stack bowls and mugs to create height. Use a large, beautiful ceramic piece as a shelf anchor.
DON’T: Scatter single, unrelated ceramic pieces. Overcrowd the shelf—ceramics are visually heavy. Use chipped or cracked items on display.
Glass
DO: Mix clear, frosted, and colored glass for depth. Keep the contents of clear jars uniform and tidy. Use glass to reflect light in darker corners.
DON’T: Let it look like a bar shelf with only drinking glasses. Place glassware where it will get greasy splatter from cooking. Forget to clean glass regularly—fingerprints show.
Wood
DO: Use functional wooden items like cutting boards, bowls, and utensil crocks. Appreciate the unique grain in each piece. Pair light wood with light ceramics and dark wood with richer tones.
DON’T: Use untreated or porous wood right next to the sink where moisture can warp it. Mix too many different wood finishes on one small shelf. Let wooden boards become overly stained for display purposes.
From Styled to Lived-In: Making It Feel Like You
Rules and formulas get you 90% of the way, but the final 10% is pure personality. A perfectly styled shelf can feel like a showroom; a lived-in shelf feels like home. To bridge that gap, introduce elements that speak to you and your daily life.
Consider adding one “wildcard” item per shelf. This could be a small, thriving potted herb (like rosemary or basil), a vintage kitchen scale, or a few favorite cookbooks with beautiful spines. These items break the expected pattern and inject life. Let your shelves evolve. That quirky mug you brought back from a trip or the beautiful bowl you use for fruit can have a place on display. The best kitchen shelf decor isn’t static; it’s a gentle rotation of what you find useful and beautiful.
Ultimately, your open shelves should serve you. They’re a backdrop for your routine, a display for your tools, and a reflection of your taste. When you stop thinking of them as a decor challenge and start seeing them as a functional canvas, the styling becomes effortless and joyful.
Your Shelves, Your Story
Remember, finding the best way to style your kitchen shelves isn’t about achieving a flawless, permanent museum display. It’s a process of layering and editing that grows with your confidence. Start with the simple, foolproof path using one material as your hero. Live with that clarity for a while. Then, when you’re ready, begin to weave in other textures and tones, using the principles of balance and contrast as your guide.
Don’t be afraid to rearrange, swap items out, or break a “rule” in favor of something that makes you smile. The most inviting kitchens are those that feel collected and personal, not perfectly prescribed. Trust your eye, embrace the empty space, and enjoy the functional beauty you’ve created.