Let’s start by clearing the air on a common kitchen styling myth: that your open shelves must be either a sterile, hyper-functional storage unit or a perfectly curated, Instagram-ready still life. This false choice leaves many of us with shelves that feel either chaotic or cold, never quite right for the way we actually live and cook. The truth is, the most inviting and personal kitchen displays live happily in the space between those extremes. This kitchen shelf styling guide is your bridge to that middle ground, where your favorite mug sits comfortably next to a beautiful bowl, and your daily essentials contribute to the overall aesthetic. We’ll focus on principles that create a lived-in, personal, and practical display—one that serves you every day and makes you smile every time you walk into the room.
Kitchen shelf styling is about creating a display that serves your daily needs while expressing your style. Start by clearing everything off, then layer back a mix of everyday essentials and a few meaningful decorative objects, always leaving breathing room. The goal is a balanced, rhythmic arrangement that feels collected, not cluttered, and works for your real life.
Myth vs. Fact: The Biggest Misconceptions About Styling Kitchen Shelves
Before we dive into the how-to, let’s clear the air. Many people feel stuck before they even start because of unhelpful “rules” they’ve absorbed. This kitchen shelf styling guide is about freedom, not frustration. Here are the myths holding you back and the facts that will set you free.
Myth: Everything Must Match Perfectly
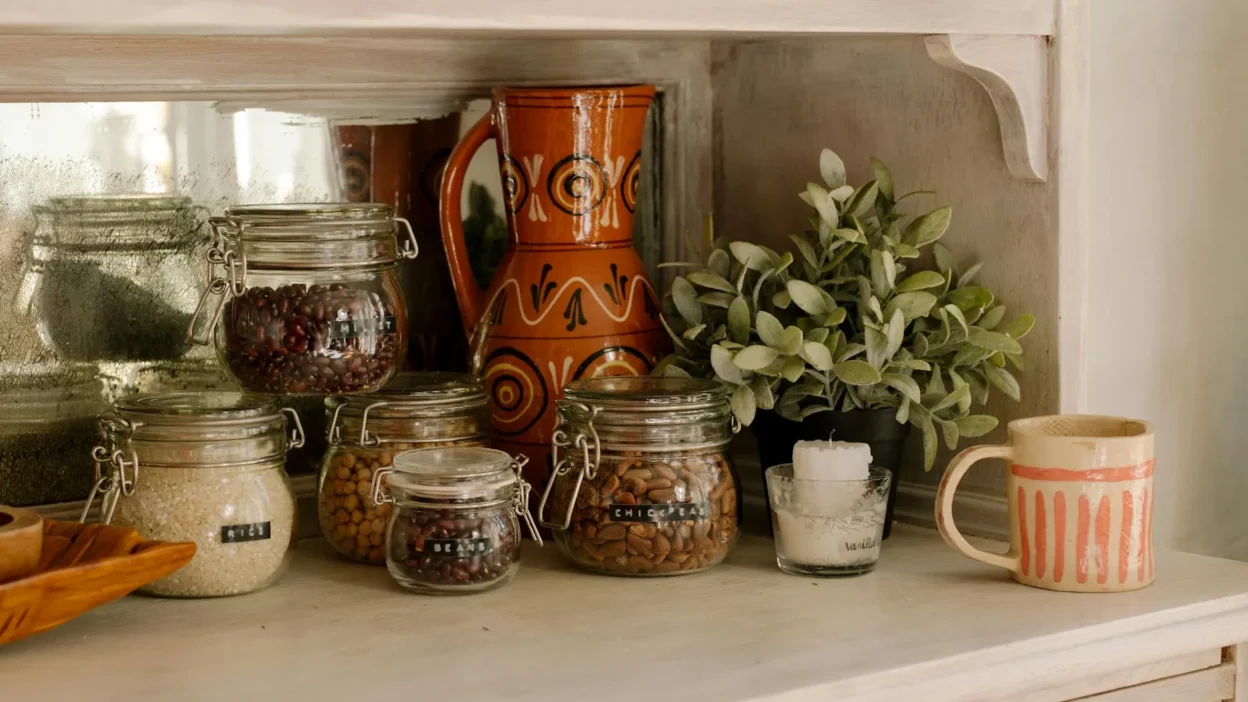
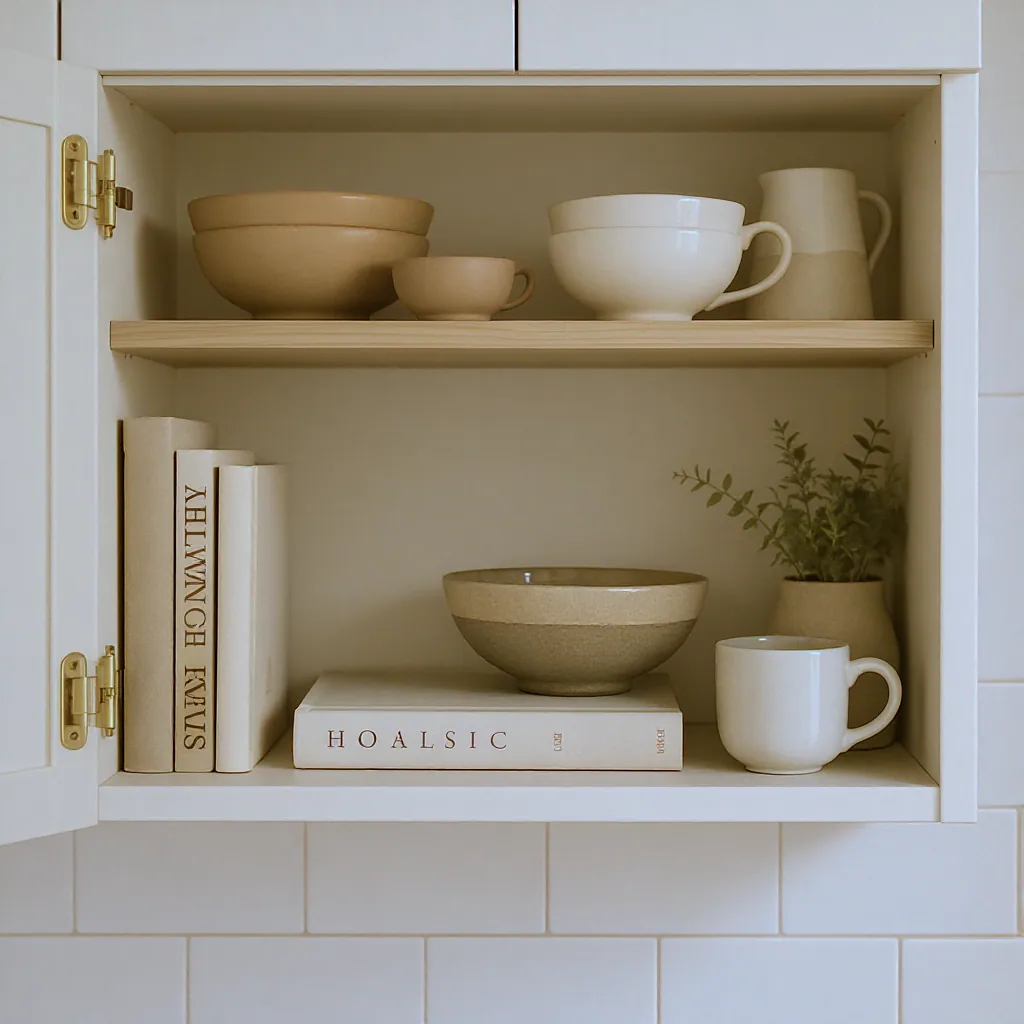
Fact: Curated cohesion beats sterile matching. A shelf where every item is from the same set looks like a store display, not a lived-in kitchen. The magic happens when you mix textures, eras, and materials—like a vintage stoneware jug beside modern white plates—that share a common color thread or design sensibility.
Myth: Open Shelves Are Purely for Decoration
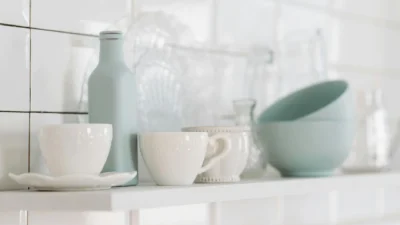
Fact: The most beautiful shelves are also the most useful. Treating open shelves as a museum exhibit creates daily friction. The best open shelf kitchen decor seamlessly blends your favorite mug, the olive oil you use every day, and a small trailing plant. Function informs beauty.
Myth: Once Styled, Never Touched
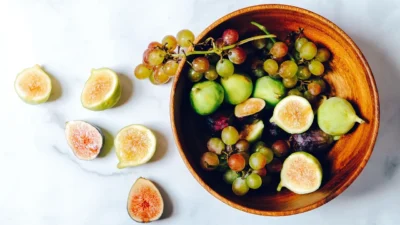
Fact: Your shelves are a living display. They should evolve with the seasons, your latest finds, and your changing needs. A perfectly static arrangement often feels stiff. Give yourself permission to swap a vase for a bowl of lemons, or to clear a space for a new cookbook. Great style is adaptable.
The Foundational Principles: Balance, Rhythm, and Negative Space
You don’t need an interior design degree to create a pleasing shelf. You just need to understand three simple visual concepts. Think of these as your toolkit for any kitchen display styling ideas you want to execute.
Visual Weight & Balance
Not all objects command the same attention. A large, dark-colored Dutch oven has heavy “visual weight.” A stack of thin white saucers feels light. Balance is about distributing this weight across the shelf so one side doesn’t feel like it’s sinking. Place a heavy “anchor” item (like that Dutch oven or a stack of large books) toward one end, and counter it with a group of lighter items or another medium-weight anchor on the other side.
Creating Rhythm
A line of items all at the same height is monotonous. Rhythm is created by varying heights and forms—think of it as a visual melody. Achieve this by using stands (like a small cookbook holder), stacking items (bowls, plates), and combining vertical elements (a tall vase) with horizontal ones (a long wooden tray). Your eye should dance across the shelf, not march in a straight line.
The Power of Negative Space
This is the most overlooked principle. Negative space—the empty areas around and between your objects—is not wasted space. It’s breathing room that allows your items to be seen and appreciated. Crowding every inch creates visual noise. Always leave some blank shelf surface, especially between groupings. It’s the silence between the notes that makes the music.
Your Styling Toolkit: What to Actually Put on Your Shelves
Now, let’s get practical. What goes up there? Think in layers: anchors, everyday layers, and personality pieces. Your mix will depend on how your kitchen lives. Here’s how to approach it for different scenarios.
For The Everyday Cook (The Functional Foundation)
Your anchors are the workhorses: beautiful mixing bowls, a frequently used chef’s knife in its block, or a set of canisters for flour and sugar. The layers are your daily-use items: a few favorite mugs, everyday plates, or a wooden cutting board. A single personality piece, like a small piece of art or a vintage scale, finishes it. This approach proves that kitchen shelf organization and style are not enemies.
For The Collector (The Curated Display)
Here, your collections become the anchor. A set of colored glassware, a row of vintage tins, or pottery from local makers. Layer in functional items that complement the collection—like using those glasses or tins to store utensils. The personality is inherent in the collection itself. If you’re looking for unique pieces, exploring sites like Etsy or local markets for independent ceramicists can yield wonderful finds.
Let’s get real for a moment. You finally clear a Saturday afternoon to style your shelves. You pull everything out, feel overwhelmed, and start placing items one by one. It looks okay, but something feels off—it’s either too sparse or weirdly clumped. This is the most common experience. The fix isn’t starting over; it’s stepping back, identifying the “empty” or “crowded” zone, and simply swapping one item from a dense area to a sparse one. The process is iterative, not instant.
The Do’s and Don’ts of Arrangement: A Side-by-Side Comparison
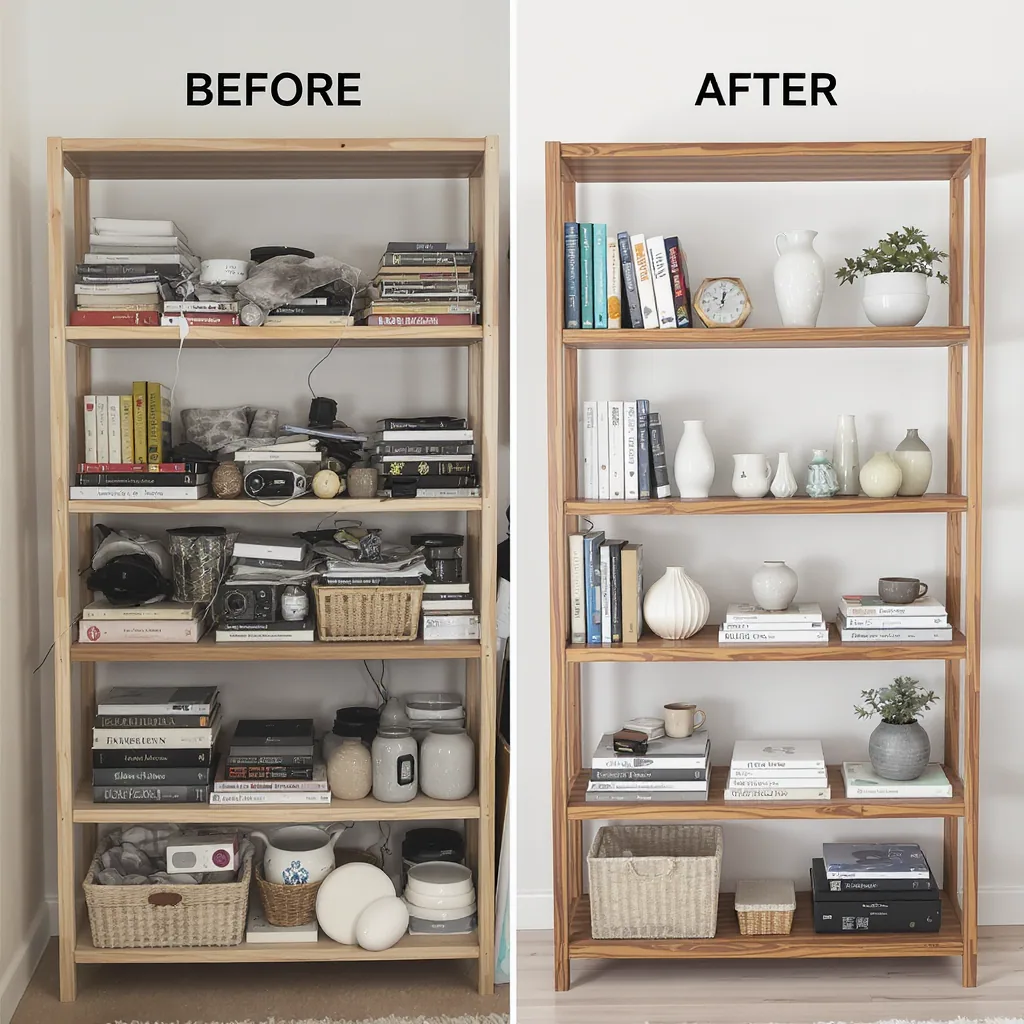
Sometimes, seeing the contrast makes everything click. Here’s a visual guide (described in words) to effective versus ineffective styling kitchen shelves.
Don’t: Scatter similar items randomly across the shelf (a mug here, a mug four feet away).
Do: Group like items together. Create a “coffee station” with mugs, the coffee canister, and a spoon holder. Group oils and vinegar on a small tray. This creates intentional, functional zones.
Don’t: Line up items in a flat, soldier-like row where every object is the same height.
Do: Stagger heights deliberately. Place a tall vase at the back, a medium-sized stack of bowls in front of it, and a low, horizontal object like a cutting board leaning beside them. Build visual triangles.
Don’t: Fill every single inch of shelf space, leaving no room for the eye to rest.
Do: Edit ruthlessly. Put 20% of the items back in the cabinet. The remaining pieces will shine, and you’ll have space to actually use your shelves daily.
Your 5-Minute Shelf Refresh Checklist
- Take everything off and clean the shelf.
- Start with your largest 2-3 “anchor” items and place them asymmetrically.
- Add medium items in groups of 2 or 3, near your anchors.
- Tuck in 1-2 small “personality” items (a plant, a small sculpture).
- Step back, squint, and remove one thing that feels unnecessary.
Common Shelf Styling Mistakes (And How to Fix Them Instantly)
Even with the best intentions, it’s easy to slip up. The good news is that each of these common mistakes has a lightning-fast fix that will transform your decorative kitchen shelves.
Mistake: Overcrowding
The Fix: The “One-Third” Rule. Mentally divide your shelf into thirds. Aim to leave at least one of those thirds relatively open. If a section feels packed, remove one item. Instantly creates air and focus.
Mistake: Ignoring Scale
The Fix: The “Big, Medium, Small” Test. Look at any grouping. If you only have medium and small items, it will feel insubstantial. Add one large object (a big bowl, a cookbook stand). Conversely, if you only have big items, add a small, delicate piece for contrast.
Mistake: Forgetting the Background
The Fix: Paint or wallpaper the back wall of your open shelves. If that’s not possible, lean a piece of art or a framed recipe at the back of the shelf. This adds depth and makes your displayed items pop forward.
Mistake: Creating a “Display Only” Zone
The Fix: Incorporate one truly daily-use item. Is there a beautiful bowl you can use for keys? A gorgeous carafe for water? A ceramic jar for wooden spoons? This single act bridges the gap between styled and lived-in.
Start With Just One Shelf Tonight
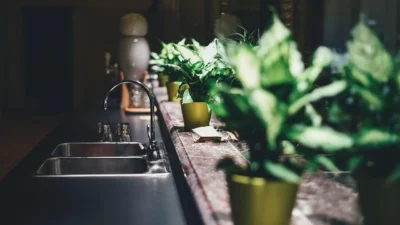
The best way to learn shelf styling is by doing, not just reading. Don’t feel pressured to overhaul your entire kitchen at once. Tonight, choose a single shelf—perhaps the one above your coffee maker or by the sink. Clear it off, and using the principles of balance, grouping, and breathing room, style it with items you love and use. Live with it for a week. Tweak it. The goal isn’t a perfect, frozen moment, but a dynamic part of your home that works for you and brings you a little joy each time you reach for a cup. Your personal kitchen display styling ideas will evolve naturally from here.
This guide to kitchen shelf styling moves beyond myths to offer practical, actionable strategies. The core philosophy is balancing utility with personal expression. Key takeaways include:
- Debunk the Myths: Shelves don’t need to match perfectly, be purely decorative, or remain static. Embrace curated mixes and evolution.
- Master the Principles: Achieve visual balance by distributing “weight,” create rhythm with varying heights, and always leave intentional negative space for breathing room.
- Build in Layers: Combine functional anchors (bowls, canisters), everyday layers (mugs, plates), and personality pieces (art, plants) based on how your kitchen lives.
- Arrange with Intention: Group like items, stagger heights, and edit ruthlessly. Avoid the common pitfalls of overcrowding and ignoring scale.
- Fix Mistakes Instantly: Use the “One-Third” rule for crowding, the “Big, Medium, Small” test for scale, and always integrate at least one daily-use item.