The biggest mistake in kitchen lighting is thinking one type of light does it all. You might have a beautiful fixture in the center of the ceiling, but if you’re still squinting to read a recipe or casting shadows on your cutting board, something’s missing. The secret to a kitchen that’s both highly functional and beautifully inviting isn’t about finding the single perfect bulb; it’s about mastering the art of layering. This practical guide breaks down the essential roles of task vs ambient vs accent kitchen lighting, moving beyond just picking fixtures to understanding how to use the right light for the right job in your space.
The best way to plan kitchen lighting is to layer three types: task lighting for work areas like countertops, ambient lighting for overall illumination, and accent lighting to highlight features. Start by mapping your kitchen’s zones and activities, then assign the appropriate lighting layer to each zone for a functional and beautiful space.
Myth: Brightness is All That Matters (The Truth About Layers)
Many people think a kitchen is well-lit if it’s simply bright. They focus on wattage, lumens, or installing one powerful fixture in the center of the ceiling. This is the core misconception that leads to frustrating shadows on your countertops, a harsh clinical feel, and a space that never looks quite “finished.”
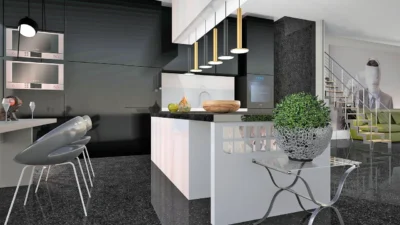
The truth is, effective kitchen lighting design isn’t about a single source of light; it’s about a system. The professional approach uses three distinct layers of light, each with a specific job. This is the principle of layered lighting in the kitchen.
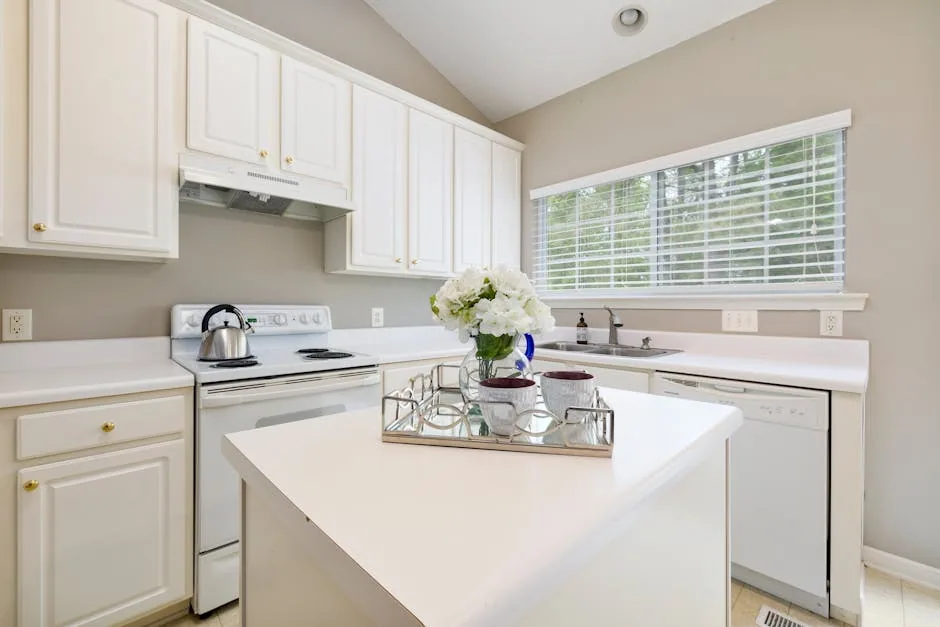
Photo by Curtis Adams on Pexels
Here’s the simple breakdown of the three essential kitchen lighting types:
- Task Lighting is for seeing what you’re doing. It provides focused, shadow-free light on specific work surfaces.
- Ambient Lighting is for general illumination. It fills the room with a comfortable base level of light.
- Accent Lighting is for highlighting and style. It draws the eye to features and adds depth and drama.
Thinking in these layers transforms your plan from “what fixture looks nice” to “what does this zone need to function and feel great?”
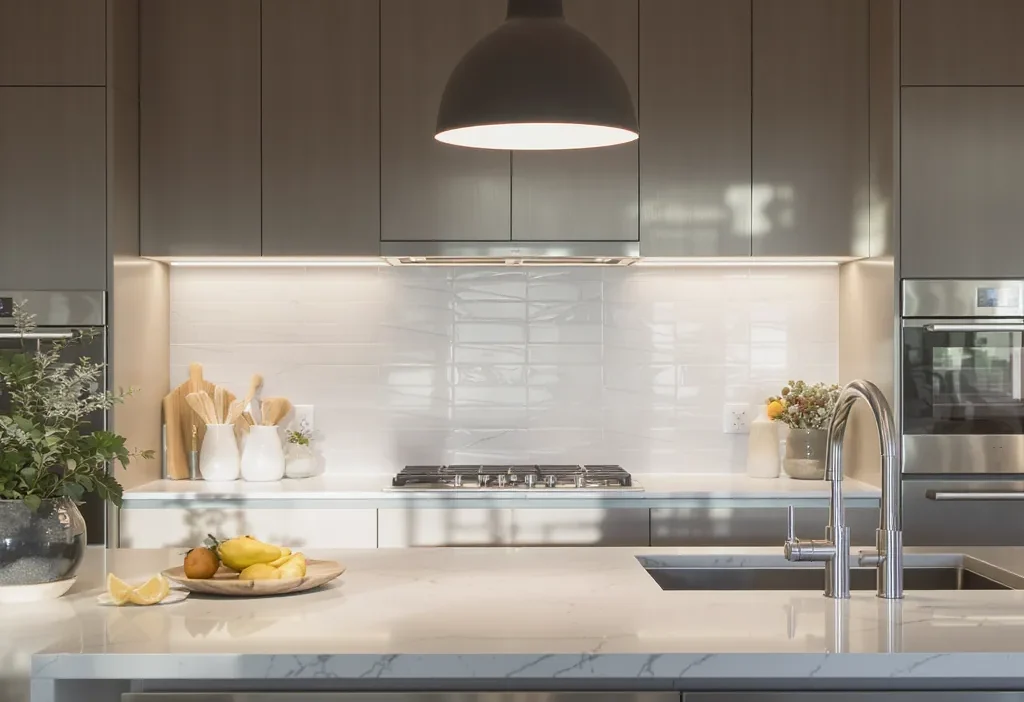
Task Lighting: Your Kitchen’s Workhorse
Imagine chopping onions. The light from the ceiling is behind you, casting a shadow from your body and knife right onto the cutting board. This is the daily reality when you lack proper task lighting. Its sole purpose is to provide clear, direct illumination for specific activities like food prep, cooking, and cleaning.
The key is placement: task lights must be positioned to shine directly onto the work surface, not from behind or above it. The most critical locations are:
- Countertops: This is non-negotiable. Under-cabinet lighting, like LED strips or puck lights, is the gold standard, eliminating shadows from wall cabinets.
- Sink: A dedicated downlight or a well-placed pendant directly over the sink basin ensures you can see every speck on a dish.
- Stove/Cooktop: A vent hood with integrated lighting or a nearby ceiling downlight is essential for monitoring food.
- Island/Peninsula: Pendant lights or a linear suspension fixture provide both task light for the surface and visual definition for the space.
When selecting kitchen task lighting, prioritize quality of light over pure power. Look for high Color Rendering Index (CRI) LEDs, which make food look natural, and ensure the light is diffused to prevent glare. Dimmers are also a smart addition here, allowing you to lower the intensity when the hard work is done.
Ambient Lighting: The Foundation of Your Kitchen’s Mood
If task lighting is your spotlight, ambient lighting is the stage wash. This layer provides the general, background illumination that makes the entire room feel open, safe, and inviting. It minimizes harsh contrasts and fills in the shadows that task lights can’t reach, like corners and floor areas.
Kitchen ambient lighting is typically ceiling-centered and should be evenly distributed. Common fixture choices include:
- Recessed Downlights (Can Lights): The most popular choice for a clean, modern look. Space them evenly (often 4-6 feet apart) to create a uniform blanket of light.
- Flush or Semi-Flush Mounts: Great for kitchens with lower ceilings. A large, diffuse fixture can be a beautiful focal point while providing ample general light.
- Track Lighting: Offers flexibility, as you can aim individual heads to supplement task or accent areas while still contributing to ambient fill.
The single most important feature for your ambient layer is a dimmer switch. It’s the control that lets you shift the kitchen’s mood instantly—bright and energetic for a family breakfast, soft and warm for a late-night snack. Without it, your ambient light is just an on/off switch, not a true layer in your kitchen lighting design.
Accent Lighting: The Secret Ingredient for Style
This is the layer most often missed in DIY plans. Kitchen accent lighting has nothing to do with task visibility and everything to do with visual interest. Its job is to highlight architectural features, decor, or textures, adding depth, dimension, and a touch of personality.
Think of it as the jewelry for your kitchen. It’s what makes a space feel designed rather than merely illuminated. Concrete applications include:
- Inside Glass-Front Cabinets: LED tape light or miniature spotlights installed on the top interior shelf make glassware and dishes glow, turning storage into display.
- Underneath Cabinets or Island Overhangs: A soft, upward-facing LED strip creates a floating effect and adds a welcoming glow at toe-level.
- Toe-Kick Lighting: Low-level lighting at the base of cabinets defines the floor plane and can serve as a subtle night light.
- On a Textured Backsplash or Artwork: A discreet directional spotlight or picture light can graze a stone backsplash or highlight a piece of art, creating beautiful shadows and highlights.
Accent lighting is typically the last layer you add and is best controlled independently. Use it sparingly; a little goes a long way in finishing the look of your layered lighting in the kitchen.
Putting It All Together: A Simple Layering Strategy
Now, how do you apply this theory? Don’t think fixture-by-fixture. Think zone-by-zone. Walk through your kitchen and identify the primary activities in each area, then assign the appropriate lighting layers.

Here’s a practical Do’s and Don’ts guide to get you started:
DO:
- Start with tasks. Map out every work surface (counters, sink, island) and plan your under-cabinet, pendant, or downlight task lighting first.
- Add ambient fill. Ensure your ceiling lights (recessed, flush mount) are spaced to wash the entire room evenly, and put them on a dimmer.
- Consider accents last. Look for opportunities to add drama—a glass cabinet, an open shelf, a beautiful backsplash—and light it separately.
- Use separate switches/dimmers. Control each layer independently for maximum flexibility (e.g., task+ambient for cooking, just ambient for cleaning, accent+ambient for entertaining).
DON’T:
- Rely on a single central ceiling light. This is the number one mistake. It creates a cave-like effect with pools of shadow everywhere.
- Place pendants purely for looks. Over an island, they should be hung at the right height (typically 30-36 inches above the counter) to provide actual task light, not just decoration.
- Forget about light temperature. Mixing warm (2700K) and cool (4000K) lights in the same sightline can look chaotic. Stick to one temperature (3000K-3500K is a safe, welcoming range for kitchens) for all layers, or use warmer tones just for accents.
- Overlight with accent lights. They are meant to be subtle highlights, not primary light sources.
Light Your Kitchen with Intention
Great kitchen lighting doesn’t happen by accident. It’s a deliberate choice to use the right light for the right job. By moving beyond the myth of “one bright light” and embracing the layered system of task, ambient, and accent lighting, you gain control over both function and atmosphere.
The next step is simple: audit your current kitchen, light by light. Stand at your main prep area at night. Is there a shadow? That’s a task lighting gap. Does the room feel flat or harsh? Your ambient layer needs adjustment. Does the design feel incomplete? Look for a spot to add an accent. Apply this framework, and you’ll transform your kitchen from merely lit to intelligently illuminated.