You stand at your kitchen counter, coffee in hand, and your gaze lands on the usual suspects: a fruit bowl holding a few lonely apples, a decorative tray pushed to the side, and a canister that somehow never looks quite right. Individually, they’re fine. Together, they feel less like a styled vignette and more like a collection of items waiting for a purpose. This is the quiet frustration of kitchen styling—the sense that the potential for a beautiful, functional space is right there, just out of reach. The good news is that unlocking it doesn’t require a design degree, just a shift in perspective. Treating your fruit bowl, tray, and canisters as a coordinated trio, rather than separate decor pieces, is the key to transforming cluttered counters into curated moments. This guide breaks down the simple principles of what works (and what definitely doesn’t) to help you create a kitchen that feels both intentional and effortlessly lived-in.
The best way to style your kitchen with fruit bowls, trays, and canisters is to treat them as a functional trio, not separate decor items. Start by choosing pieces that share a common design language (like material or color tone) to create cohesion. Use the tray to define a ‘zone’ and contain smaller items, the fruit bowl for fresh, colorful life, and canisters for both utility and visual rhythm. Avoid overcrowding and mismatched scales for a polished look.
The Styling Trio: Understanding Their Core Jobs
Think of your kitchen countertop as a small stage. For a scene to feel complete, each actor needs a clear role. In kitchen accessory styling, your fruit bowl, tray, and canisters are the main players, and they each solve a different visual and functional problem. When you understand their core jobs, styling them together becomes intuitive, not intimidating.
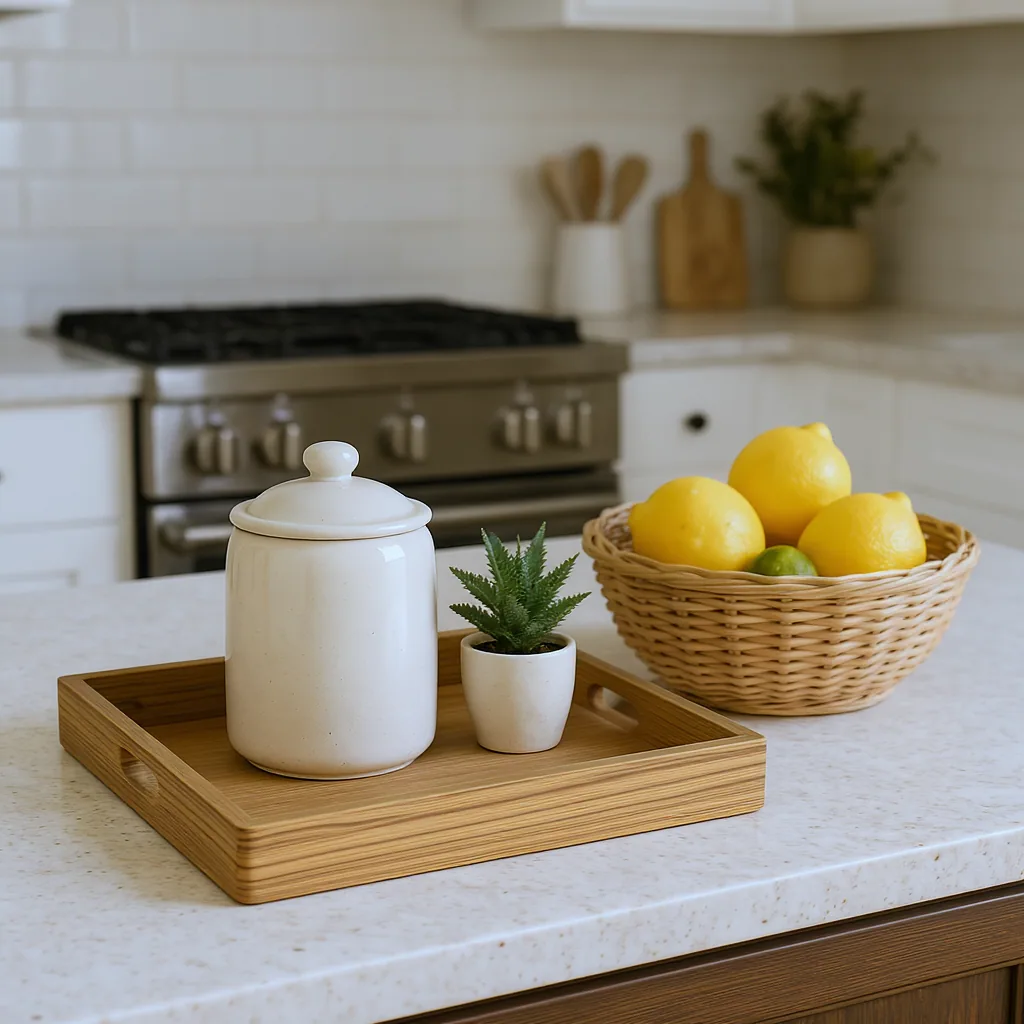
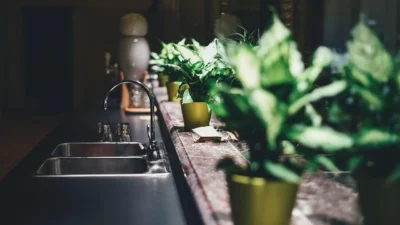
The fruit bowl is your shot of fresh life and color. Its primary job is to be beautiful and useful, holding items that naturally brighten the space. A bowl filled with lemons, apples, or avocados adds organic shape and a welcoming, lived-in feel. It’s the element that says this kitchen is active and nourishing.
The tray is your stage manager. Its core job is to define a zone and contain clutter. By placing a tray on the counter, you instantly create a designated spot—a “landing pad” for daily essentials. This act of containment is the secret to a tidy-looking space, making a collection of small items feel intentional rather than scattered.
Canisters are your utility players with rhythm. Their primary function is storage (for coffee, flour, utensils), but their aesthetic job is to add visual order through repetition. A set of canisters creates a pleasing rhythm of shapes and heights. They anchor the practicality of your kitchen canister decor ideas, proving that what’s useful can also be beautiful.
What Works: Principles for Cohesive Countertop Styling
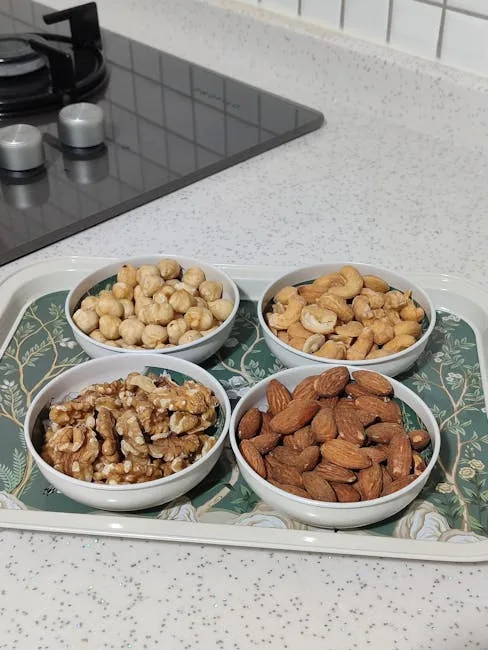
Photo by Nur Tok on Pexels
Now that you know the roles, how do you direct this trio to work in harmony? Success in fruit bowl tray canister kitchen styling comes down to a few key principles.
Choose a Unifying Element. Your items don’t need to match perfectly, but they should speak the same design language. Pick one common thread—like material (all ceramic, all wood, all woven), color tone (all neutrals, all warm earth tones), or style (all modern, all rustic)—and let it guide your selections. A wooden tray, a ceramic canister, and a woven bowl can work because they share a natural, textural vibe.
Master Scale and Grouping. A giant fruit bowl will overwhelm a petite tray. Instead, use the tray to corral smaller items, like a coffee pod holder and a tiny creamer, and let the fruit bowl stand proudly on its own. For canisters, vary their heights to create visual interest. Group the tray and canisters together as one unit, and let the fruit bowl be a separate but related focal point a short distance away. This is the essence of effective countertop tray styling kitchen techniques.
Embrace Negative Space. The empty space on your counter is just as important as the filled space. Don’t feel the need to cover every inch. A tray with just two items on it feels curated; a bowl with five pieces of fruit feels abundant. Leaving clear space around your groupings prevents the area from looking cluttered and allows each piece to be appreciated.
What Doesn’t Work: Common Styling Missteps to Avoid
Let’s picture a few common scenarios where the styling feels “off.” Recognizing these missteps is often the fastest way to learn what works.
The Cluttered Collection: You love your accessories, so you put them all out. The tray holds a canister, a salt cellar, a vase, a candle, and a stack of napkins. The fruit bowl is overflowing, and two extra canisters sit beside it. The result is visual noise where nothing stands out. The principle of containment is defeated by sheer volume.
Mismatched Material Madness: Imagine a sleek, stainless steel canister next to a rustic, chunky wood bowl, all sitting on a clear lucite tray. Individually, they might be nice pieces. Together, they feel chaotic because there’s no unifying element. Your eye doesn’t know where to rest, and the scene lacks calm.
The Scale Mismatch: A small, dainty tray is placed under a large, heavy-bottomed fruit bowl. The bowl dwarfs the tray, making it look precarious and silly. The tray loses its purpose as a defining base. Similarly, three canisters of identical size and shape lined up can look sterile, like a retail display instead of a home kitchen.
Purely Decorative (Non-Functional) Items: A bowl filled with fake, plastic fruit or a canister that’s permanently sealed shut. These items break the “form follows function” rule. They take up space without offering utility, which can make a kitchen feel more like a showroom than a lived-in, welcoming heart of the home.
Putting It Together: A Simple Styling Workflow
Feeling inspired? Here’s a straightforward, four-step workflow to apply these principles to your own countertop.
1. Clear and Clean. Start with a blank slate. Remove everything from the area you want to style and wipe it down. This resets your vision.
2. Anchor with the Tray. Place your tray first. This defines the zone. Position it where it makes sense functionally—near the coffee maker, to the side of the sink, or in a corner.
3. Add Function with Canisters. Place your canisters on or near the tray. If they’re a set, stagger their heights. If they’re different, ensure they share a material or color with the tray. Fill them with items you use daily.
4. Finish with Life (The Fruit Bowl). Finally, place your fruit bowl. Don’t put it on the tray unless the tray is very large. Let it have its own space nearby. Fill it with real, fresh fruit or vegetables in a color that complements your palette. Step back, adjust, and remember: styling is iterative. Live with it for a day and see how it feels.
Styling is a Balance, Not a Rulebook
The goal of kitchen styling with these three essentials isn’t to achieve magazine-perfect stillness. It’s to create a space that feels both cohesive and genuinely useful to you. The tradeoff is always between pristine order and lived-in warmth. A perfectly matched set might look elegant, but a lovingly mismatched collection that tells your story often feels more like home.
So, use these principles as a guide, not a gospel. Let your fruit bowl, tray, and canisters work together to solve your countertop’s unique puzzle. When you find that sweet spot where beauty meets your daily routine, you’ve mastered the art of the everyday kitchen vignette.