You’ve done the hard work. The cabinets are refaced, the counters are installed, the new hardware is gleaming. Yet, when you stand back, your kitchen feels more like a sterile showroom or a stage set waiting for the actors than the warm, personal heart of your home. This gap between “updated” and “lived-in” is where the magic of a kitchen decor refresh finishing touches truly happens. Contrary to just adding random decor, these final layers are a deliberate system—a series of intentional choices that activate the space, inject cohesion, and tell your story. This guide moves beyond simple kitchen styling ideas to explain the underlying principles and provide a repeatable framework, transforming your nearly-there kitchen into a space that feels complete, curated, and uniquely yours.
A kitchen decor refresh finishing touch is any intentional, non-functional layer added after major updates to inject personality, cohesion, and lived-in warmth. The most effective approach isn’t random decoration, but a styling system based on principles of balance, texture, and personal narrative. This method ensures your space feels curated, not cluttered, and evolves with you over time.
The Science of Styled Spaces: Why Systems Beat Stuff
You might think adding the final decorative layers to your kitchen is about finding cute things you like. While that’s part of it, truly effective styling is a problem-solving exercise grounded in a few simple design principles. Understanding these principles turns random shopping into a strategic system, ensuring your space feels intentional, not just filled.
Core Principles for Cohesive Styling
Let’s break down the key concepts that professional stylists use intuitively:
- Visual Weight: This isn’t about physical pounds, but how much an object commands attention. A large, dark ceramic vase has high visual weight; a thin, clear glass has low weight. Balancing weight across a surface prevents it from feeling lopsided.
- The Rule of Three (and Odd Numbers): Grouping items in threes or fives is more dynamic and pleasing to the eye than even-numbered pairs. This creates a natural focal point and avoids a symmetrical, staged look.
- Negative Space: This is the breathing room around your objects. Cluttering every inch of countertop creates visual noise. Intentional empty space allows the eye to rest and highlights the items you’ve chosen to display.
- Rhythm and Repetition: Repeating a color, material, or shape in different areas of the kitchen creates a sense of rhythm and cohesion. Think of it as a visual echo that ties the room together.
When you apply these principles, your kitchen styling systems move from guesswork to a reliable method. For a deeper dive into foundational design concepts, resources like Canva’s guide to design elements and principles offer a great starting point.
Your Kitchen’s Personality Profile: A Styling Scenario
The principles are universal, but their application changes based on the vibe you’re after. Let’s translate theory into practice by looking at three common kitchen personalities. This will help you generate kitchen styling ideas that feel authentic to you.
Modern Minimalist
Core Principle: Edit ruthlessly. Every item must earn its place through function or sublime form.
Styling Playbook: Focus on a monochromatic or neutral palette with one accent color. Use materials like polished concrete, stainless steel, and clear glass. Embrace negative space—a single sculptural fruit bowl on an expansive counter is a statement.
Pitfall to Avoid: Sterility. The trap here is a space that feels cold and unused. The sidestep is to introduce one organic texture, like a single trailing pothos plant or a bowl of lemons, to add life.
Cozy Farmhouse
Core Principle: Layered, collected warmth.
Styling Playbook: This style thrives on texture and patina. Think open shelving with mismatched ceramic plates, woven bread baskets, and aged wood cutting boards displayed on the counter. Incorporate vintage finds or reproductions that tell a story.
Pitfall to Avoid: Clutter disguised as coziness. Too many small knick-knacks can look busy instead of inviting. Edit groupings to a few key pieces with varied heights and textures.
Eclectic Collector
Core Principle: Curated personal expression.
Styling Playbook: This is about mixing eras, colors, and cultures with confidence. The unifying thread is often a strong color story or a repeated material (like brass). A gallery wall of eclectic art, colorful vintage glassware on shelves, and global textiles as tea towels are hallmarks.
Pitfall to Avoid: Visual chaos. The key is curation, not accumulation. The relatable moment for an Eclectic Collector is standing before a countertop covered in beloved treasures and feeling it looks messy, not designed. The solution is to practice the “edit, then display” method: clear everything, then only reintroduce the pieces that sing together, storing the rest to rotate in later.
The Four-Layer Finishing Touch System
Now, let’s build. The most effective method for adding finishing touches for kitchen decor is to work in distinct, buildable layers. This systematic approach ensures depth and prevents a one-note, flat look. Think of it as dressing your kitchen: you start with the essentials, then add accessories.
Layer 1: Functional Beauty
These are the useful items you already own that can be styled beautifully. Instead of hiding everything, make part of your toolkit part of the decor. This includes wooden spoons in a ceramic crock, a beautiful olive oil bottle by the stove, or high-quality dish soap in a pretty dispenser. Rolled linen towels add a crisp, textural element.
Layer 2: Organic Life
Nothing makes a kitchen feel more alive and welcoming than organic elements. This layer is non-negotiable. It includes fresh herbs in pots on the windowsill, a bowl of seasonal fruit (lemons, apples, avocados) on the counter, or a low-maintenance snake plant in the corner. These items add color, shape, and a sense of vitality.
Layer 3: Textural Depth
This is where your kitchen gets its tactile, cozy feel. Texture adds visual interest and warmth, especially in a room of hard surfaces like stone and metal.
The Textural Trinity
- Woven: Baskets (for fruit, potatoes, or napkins), rattan placemats, a seagrass rug.
- Wood: Cutting boards (leaned against the backsplash or stacked), wooden bowls, utensil handles.
- Metal: A mix of finishes (e.g., brushed brass drawer pulls, a stainless steel kettle, a black iron trivet) adds sophistication. Avoid making every metal match perfectly.
Layer 4: Personal Narrative
This final layer is what makes the kitchen uniquely yours. It’s the story. It could be a piece of art you love, a vintage scale inherited from a grandparent, a collection of ceramic vessels from travels, or a favorite cookbook displayed on a stand. These items have emotional weight and are the ultimate kitchen decor final touches.
Dos and Don’ts of Kitchen Styling Zones
Applying your layers and principles looks different in each part of the kitchen. Here’s a zone-by-zone guide to kitchen styling principles in action.
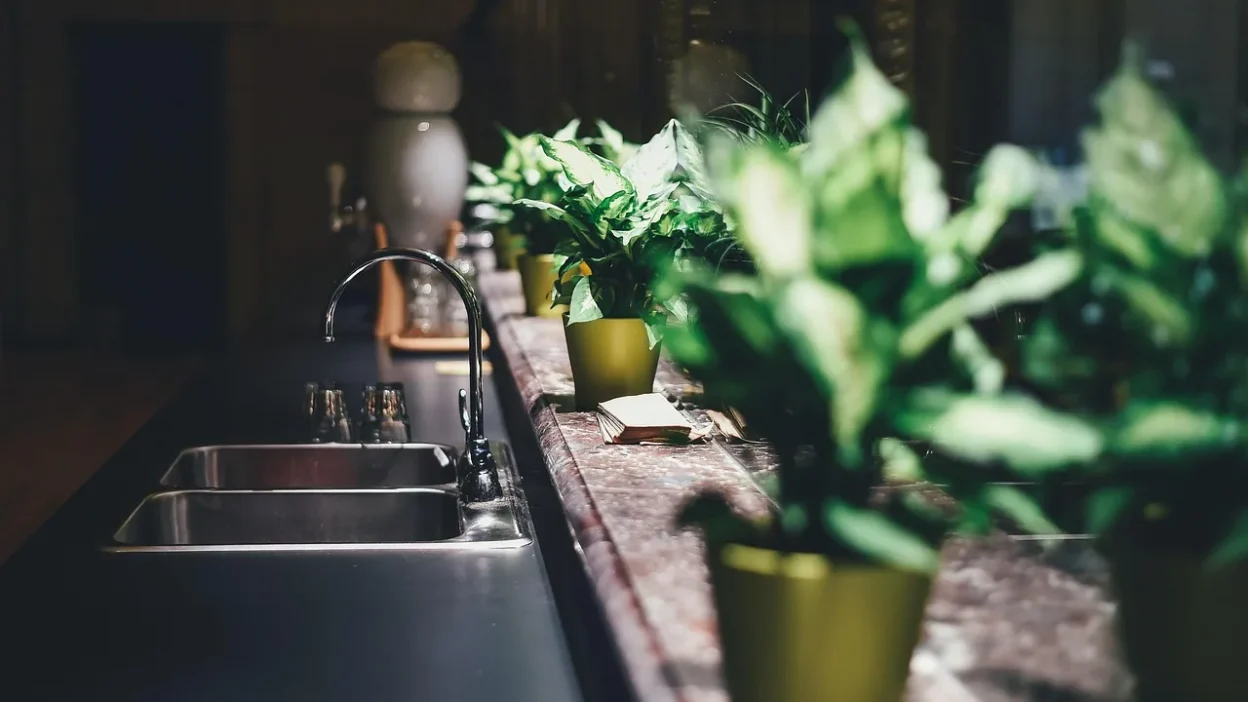
Photo by Konstantin Mishchenko on Pexels
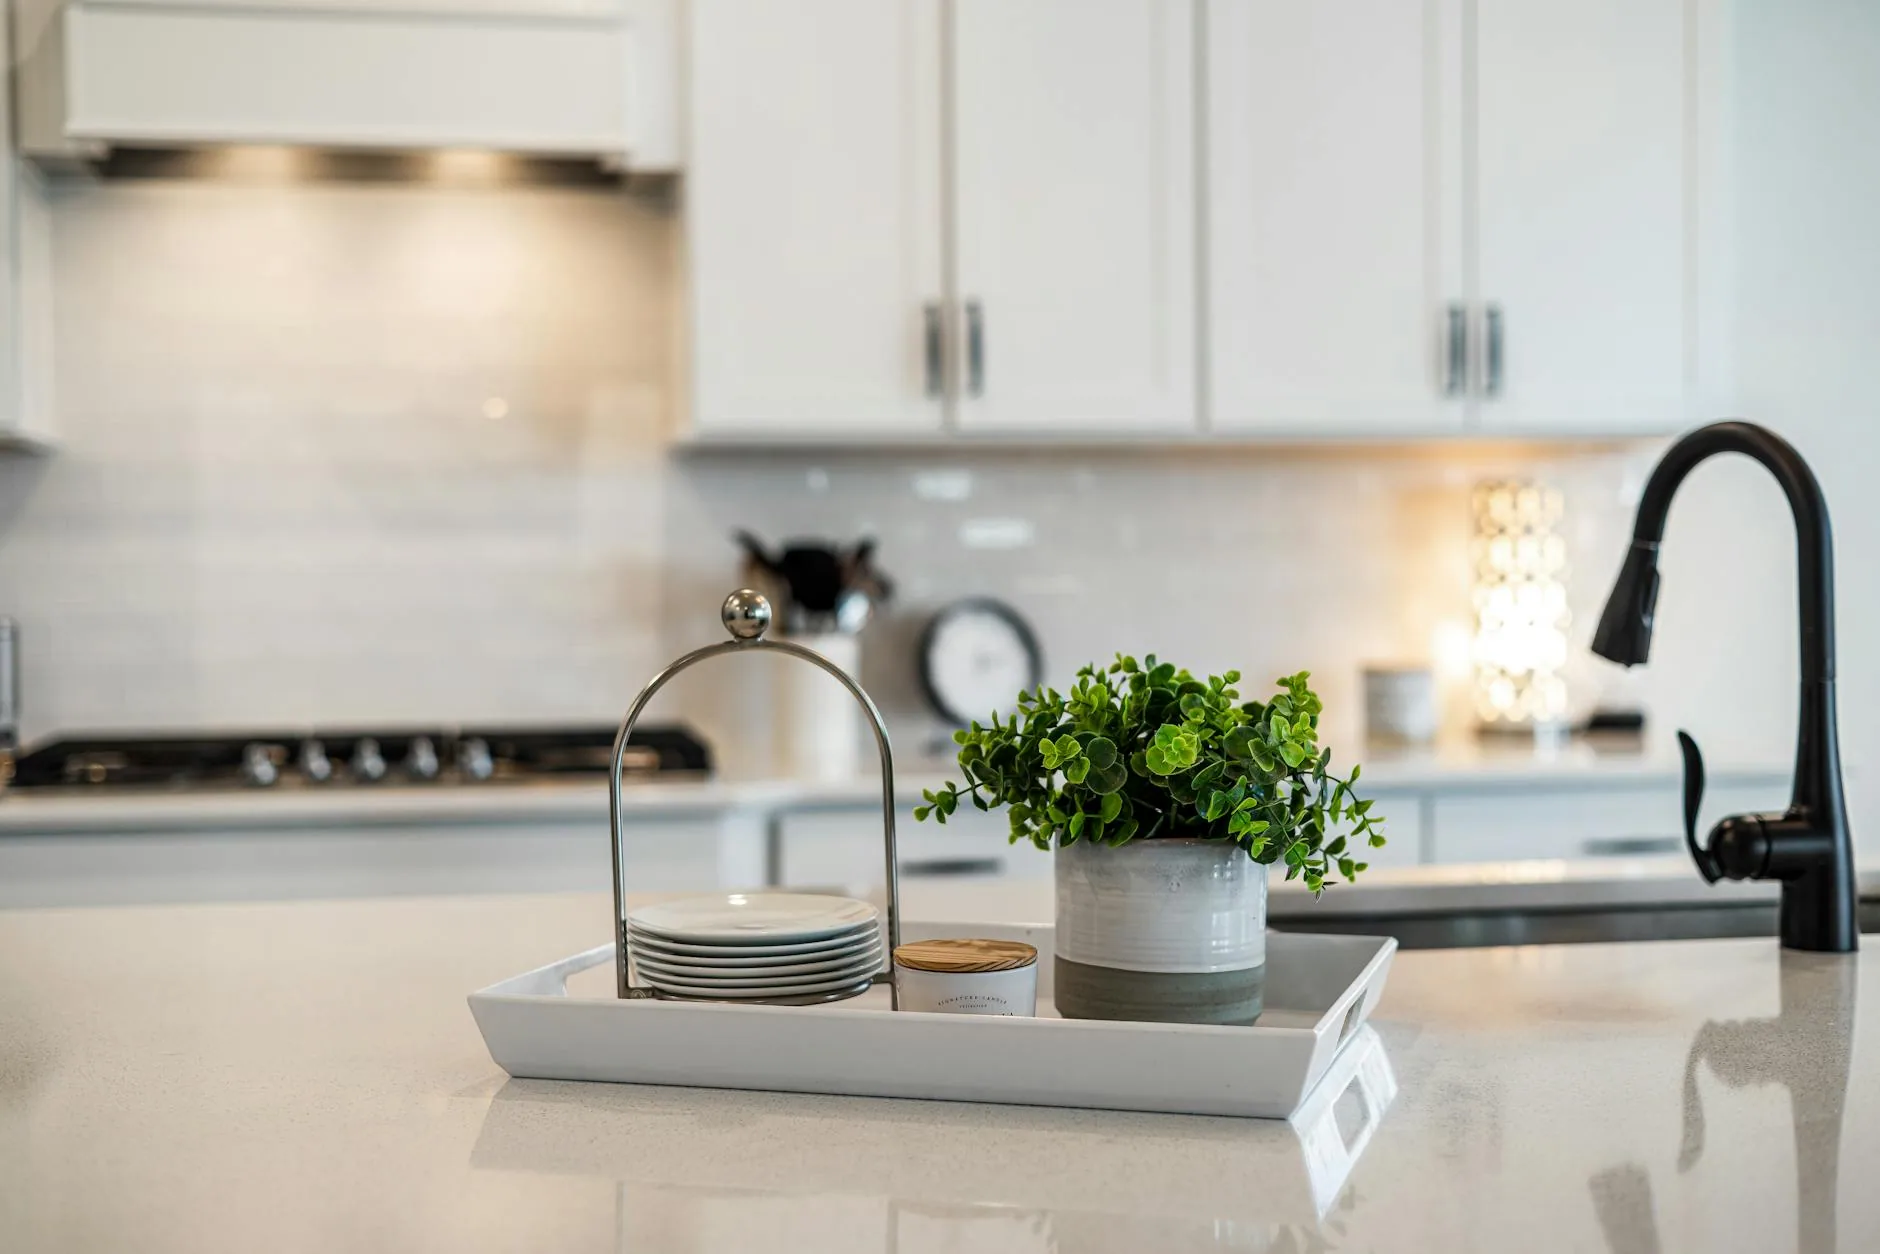
Countertops (The Prime Real Estate)
Do: Create one or two intentional vignettes using the Rule of Three. For example, a cutting board (wood), a ceramic canister (texture), and a small potted herb (organic life). Keep high-traffic prep areas clear.
Don’t: Line up appliances and canisters in a single, uniform row like soldiers. This creates visual monotony and ignores rhythm.
Open Shelving (The Display Case)
Do: Mix practical items (bowls, plates) with decorative ones (art, a vase). Vary heights and layer items in front of each other. Leave some shelves lightly populated.
Don’t: Fill every shelf edge-to-edge with only decorative items. This looks like a store display and isn’t functional for a lived-in kitchen.
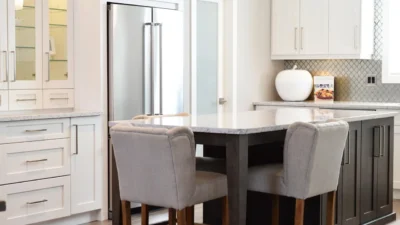
The Kitchen Island (The Focal Point)
Do: Treat it as a central stage. A statement pendant light above, a beautiful bowl of fruit or a tray with a candle and a stack of cookbooks can anchor the room.
Don’t: Let it become a dumping ground for mail, keys, and random clutter. Provide a designated catch-all basket elsewhere if needed.
Windowsills (The Bonus Shelf)
Do: Use this space for layers of organic life and texture—a line of herb pots, a trailing plant, or a few smooth stones in a shallow dish.
Don’t: Block natural light with tall, bulky items. Keep the profile low and airy.
Your 10-Step Action Plan for a Cohesive Kitchen Refresh
Ready to execute? This sequential guide synthesizes everything into a foolproof process. Set aside a few hours and follow these steps.
- The Blank Slate Audit: Clear every surface you intend to style. Wipe it down. This reset is crucial for seeing the space with fresh eyes.
- Define Your Vibe: Revisit the personality profiles. Choose one as your north star to guide all subsequent decisions.
- Identify Your Focal Points: Choose 1-2 key areas (e.g., the island, the range hood wall) that will carry the most visual weight.
- Apply the Focal Point Filter: When styling your chosen focal area, ask: Does this item have enough visual weight to anchor the space? Does it introduce a key color or texture? Does it serve a function or tell a story? Let this filter guide your selection.
- Gather Your Arsenal: Collect all potential styling items from around your home—vases, trays, baskets, art, plants. Don’t shop yet; shop your home first.
- Start with Layer 1 (Functional Beauty): Place your most beautiful everyday items first—the utensil crock, the towel, the oil bottle.
- Add Layer 2 (Organic Life): Introduce your plants, herbs, or fruit bowl. This immediately adds warmth.
- Build Layer 3 (Textural Depth): Weave in your wood, woven, and metal elements. A cutting board here, a basket there.
- Finish with Layer 4 (Personal Narrative): Place your one or two most cherished items. This is the soul of the space.
- The One-Week-Later Review: Live with it. After a week, note what feels off—is something too cluttered? Does a corner feel empty? Tweak based on your lived experience, not just the initial setup.
Common Kitchen Styling Mistakes (And How to Sidestep Them)
Even with the best intentions, it’s easy to stumble. Here are the most frequent kitchen decor styling errors and how to correct them by applying the principles you now know.
Mistake: The Everything-Is-White Trap
Why it Fails: An all-white kitchen with all-white accessories feels flat, sterile, and highlights every speck of dirt.
The Sidestep: Introduce texture, not just color. Add woven rattan, rough-hewn wood, and blackened metal. These elements add visual interest without compromising a light, airy feel.
Mistake: Over-Accessorizing (The Clutter Conundrum)
Why it Fails: Too many small objects compete for attention, creating visual noise and making the space feel anxious, not cozy.
The Sidestep: Edit mercilessly. Remove half the items from a crowded shelf or counter. If you’re unsure, take a photo; the camera often reveals clutter your eye has grown used to.
Mistake: Ignoring Scale
Why it Fails: A tiny picture on a large wall or a huge fruit bowl on a small counter feels awkward and unbalanced.
The Sidestep: Match the visual weight of your decor to the scale of the surface and surrounding furniture. Group smaller items on a tray to give them collective presence.
Mistake: Neglecting Lighting’s Role
Why it Fails: Even the most beautifully styled vignette disappears in poor light. Harsh overhead lighting can flatten texture.
The Sidestep: Layer your lighting. Ensure task lighting for workspaces and add ambient light with under-cabinet strips or a pendant over the island. A small, focused lamp on a counter can add incredible warmth.
Sustaining the Style: Systems for a Lived-In Kitchen
A perfectly styled kitchen isn’t a museum. It’s a living space that should evolve. The goal is to create a system flexible enough for daily life and new inspirations. Think of it as kitchen decor cohesion that can adapt.
The Easy-Rotate Strategy
Adopt a “capsule decor” mentality. Have a small stash of extra styling items (vases, trays, art) in a closet. Every season or when you feel the itch for change, swap a few pieces in and out. Rotate your display dishes on open shelves or change the art on your fridge with magnets.
The Editing Flowchart
When you find a new item you love, run it through this logical filter before it earns a permanent spot. This prevents impulse buys from disrupting your hard-won cohesion.

Embrace the Evolution
Your style will change. A new heirloom, a souvenir from a trip, a gifted piece—these should find a home. Use the four-layer system to integrate them. If you add a new textured basket (Layer 3), consider removing an older, similar one. This keeps the look fresh but controlled, ensuring your kitchen always feels like you.
Finding Your Balance Between Curated and Lived-In
The ultimate tradeoff in kitchen styling is between a highly curated, magazine-ready look and the warm, functional ease of a space that’s actually used. The former can feel impersonal and stressful to maintain; the latter can slip into visual chaos. The system we’ve outlined isn’t about achieving perfection—it’s about finding your personal balance point between these two poles.
By understanding the principles, working in intentional layers, and applying a flexible maintenance strategy, you create a kitchen that feels both designed and alive. The finishing touches are no longer afterthoughts; they are the activating elements that turn your updated kitchen from a sterile stage set into the vibrant, welcoming heart of your home. Start with one zone, apply one layer, and watch the space transform.
Key Takeaways for Your Kitchen Decor Refresh:
- Styling is a System, Not a Shopping Spree: Ground your choices in principles like visual weight, the rule of three, and negative space to create intentional cohesion.
- Build in Layers for Depth: Work sequentially through Functional Beauty, Organic Life, Textural Depth, and Personal Narrative to avoid a flat, one-note look.
- Personality Over Perfection: Your kitchen’s vibe (minimalist, cozy, eclectic) should guide the application of rules, not the other way around. Let your story show.
- Edit Ruthlessly, Then Adjust Gently: Start with a blank slate, build your layers, and be prepared to tweak after living with the results for a week.
- Create a System for Evolution: Use rotation and a simple decision filter to incorporate new finds without starting from scratch, keeping the space feeling fresh and authentically yours.
Q: What’s the biggest difference between decorating and styling a kitchen?
A: Decorating often involves permanent or semi-permanent changes like paint, wallpaper, or light fixtures. Styling is the flexible, decorative layer on top—the artful arrangement of objects you can easily move or change. It’s about curation and composition of the items within the decorated space.
Q: How often should I change my kitchen’s finishing touches?
A: There’s no set rule. Some enjoy small seasonal updates (swapping citrus for gourds in a bowl, changing tea towel colors). Others may only refresh when they tire of the look or acquire a special new piece. A light quarterly edit is a good rhythm to prevent stagnation without being a chore.
Q: Can I mix modern and farmhouse styles in my finishing touches?
A: Absolutely. This is often called “transitional” style and can be very effective. The key is to find a unifying element. For example, use clean-lined modern accessories in a warm, wood-toned palette that nods to farmhouse, or introduce a single rustic wood cutting board onto a sleek, modern countertop to add texture.
Q: What are the best low-cost finishing touches for a kitchen?
A: The most impactful, budget-friendly touches are often organic (a $5 pot of basil, a bowl of lemons)