You finally replaced that old, flickering kitchen light. You flipped the switch, expecting a sunlit workspace, but instead… you’re still squinting at the onion you’re trying to dice. The frustration is real. If your kitchen still feels dark after a lighting update, you’re not alone, and it’s almost certainly not because you bought the “wrong” bulbs. The persistent gloom is usually a design issue, not a hardware failure. This guide cuts through the confusion to diagnose the hidden culprits—like misplaced fixtures and unflattering color temperatures—that cast shadows right where you need light most. More importantly, we’ll walk through safer, smarter brightness fixes you can implement without calling an electrician, turning your dim kitchen into the bright, functional heart of the home it was meant to be.
If your kitchen still feels dark after a lighting update, it’s likely not the bulbs’ fault. The problem usually stems from a mismatch between light placement and task areas, an unflattering color temperature, or a lack of layered lighting. The good news is that safer, effective fixes don’t always require rewiring. Simple adjustments like swapping bulb tones or adding plug-in task lighting can transform your space.
The Real Culprits: Why New Lights Can’t Beat the Shadows
You installed bright new fixtures, so why does your kitchen still feel dark after the lighting update? The frustration is real, but the answer usually isn’t weak bulbs. The problem is a design mismatch. Think of it like this: lighting a kitchen isn’t about flooding the entire room with light; it’s about strategically illuminating specific zones where you work. When the light isn’t placed where you need it, shadows win.
1. The Placement vs. Task Zone Mismatch
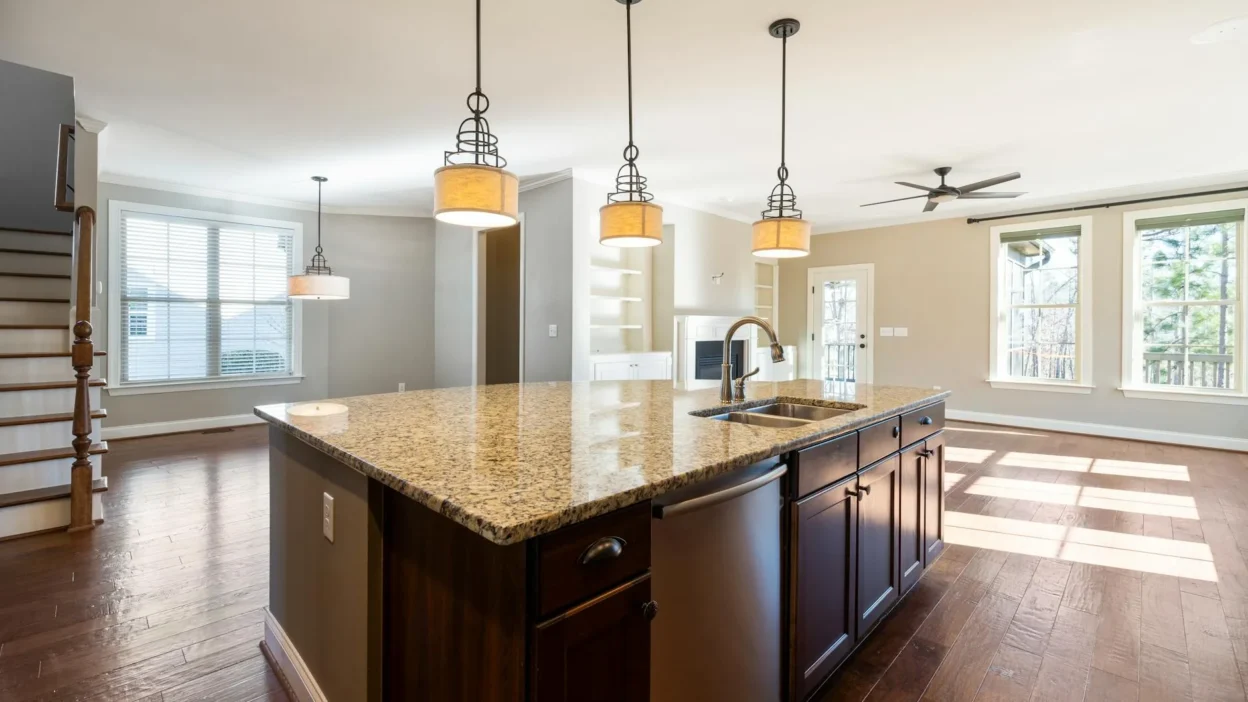
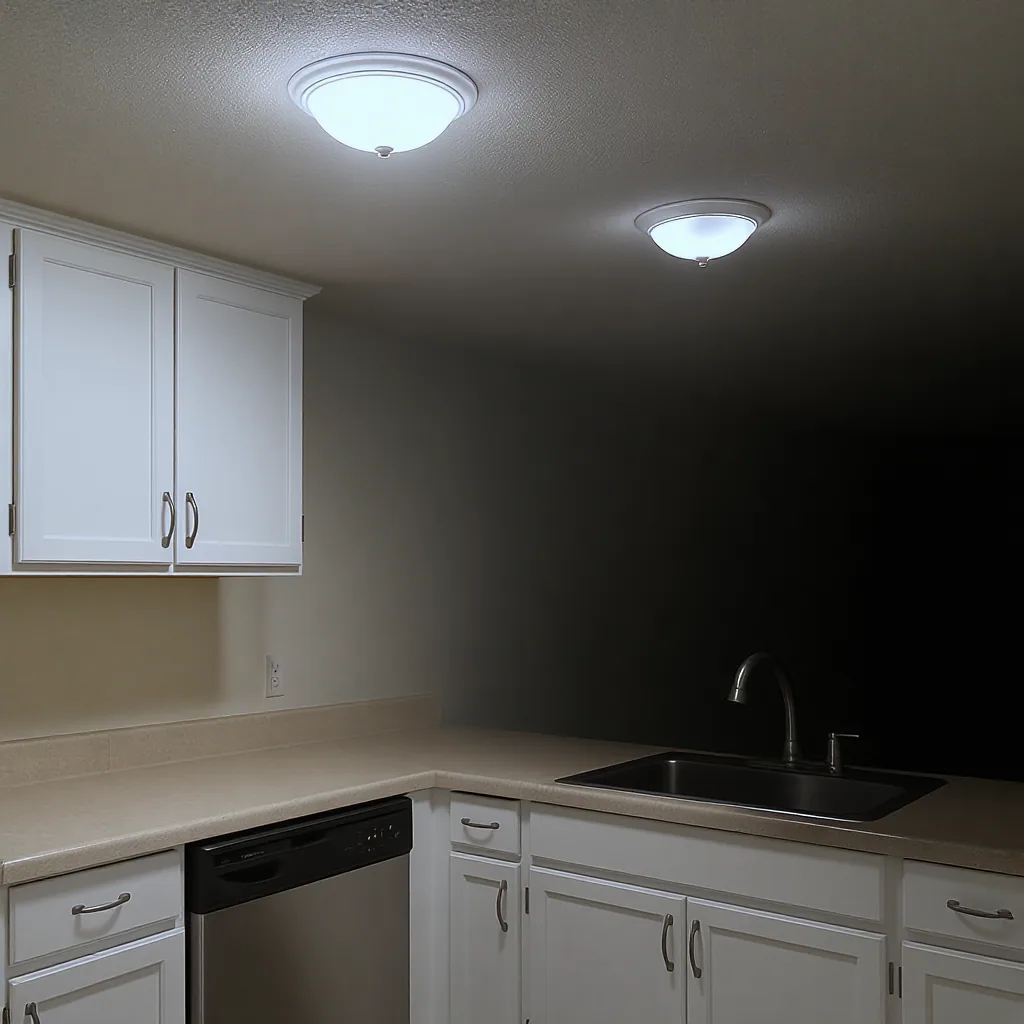
This is the most common reason a kitchen feels dim after an upgrade. If your primary light source is a single ceiling fixture in the center of the room, your body will cast a shadow directly onto the countertop, sink, or stove as you work. The light is behind you, not in front of you. Effective kitchen lighting requires placing light in front of the person working, not above or behind them.
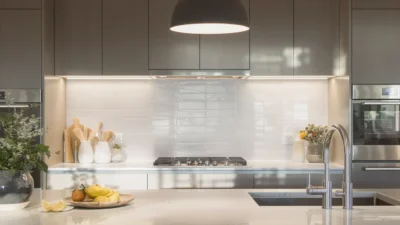
2. The Color Temperature Trap
Bulb brightness isn’t just about lumens; it’s also about color temperature, measured in Kelvins (K). A bulb that’s too warm (2700K-3000K) can create a cozy, amber glow that feels dim and makes details hard to see. Conversely, a bulb that’s too cool (5000K-6500K) can feel harsh, clinical, and oddly flat, failing to make surfaces feel bright and inviting. The sweet spot for most kitchens is a neutral or cool white in the 3500K to 4000K range, which mimics natural daylight and enhances contrast.
3. Relying on a Single Layer
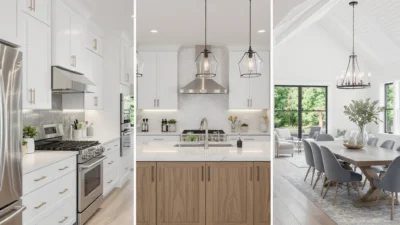
One bright light is rarely enough. Professional lighting design uses layers: ambient (general light), task (focused light for work), and accent (decorative light). If you only updated your ambient layer (the ceiling light), you’re missing the critical task lighting that banishes shadows from countertops. This lack of layered lighting is a core kitchen lighting problem that leaves the space feeling unfinished and dark.
Common Kitchen Lighting Mistakes (And How to Spot Yours)
Let’s translate those culprits into specific, relatable errors. Spotting which one you made is the first step to a brighter kitchen.
Mistake 1: The Lone Central Ceiling Light
You might have this if: You have one fixture in the middle of the ceiling and no other permanent lights over key areas.
The effect: It creates a “cave-like” atmosphere with bright spots and deep shadows, especially under wall cabinets and in room corners. Your kitchen lighting not bright enough where it matters most.
Mistake 2: Choosing the Wrong Color Temperature
You might have this if: Your kitchen feels either like a dimly lit restaurant (too yellow) or a sterile laboratory (too blue).
The effect: The wrong tone can make whites look dingy, food appear unappetizing, and reduce perceived brightness even with high-lumen bulbs. It’s a key error when trying to brighten a dark kitchen.
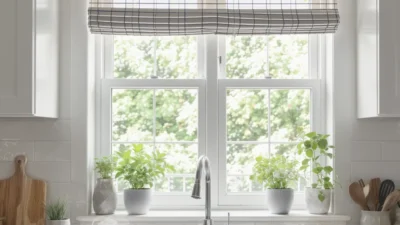
Mistake 3: Forgetting Under-Cabinet Lighting
You might have this if: Your countertops are perpetually in shadow, and you find yourself straining to chop vegetables or read recipes.
The effect: This omits the entire task lighting layer, which is non-negotiable for a functional, bright workspace. It’s one of the most impactful kitchen lighting mistakes.
Mistake 4: Over-Lighting One Zone, Neglecting Others
You might have this if: Your island is brilliantly lit, but the perimeter counters, sink, and pantry feel like dark caverns.
The effect: Creates extreme contrast that makes the dark areas feel even darker. Good lighting balances illumination across all work zones.
Safer, Smarter Brightness Fixes (No Electrician Required)
The good news is that many solutions don’t require calling an electrician or rewiring your home. You can implement these safer kitchen lighting fixes to dramatically improve brightness.
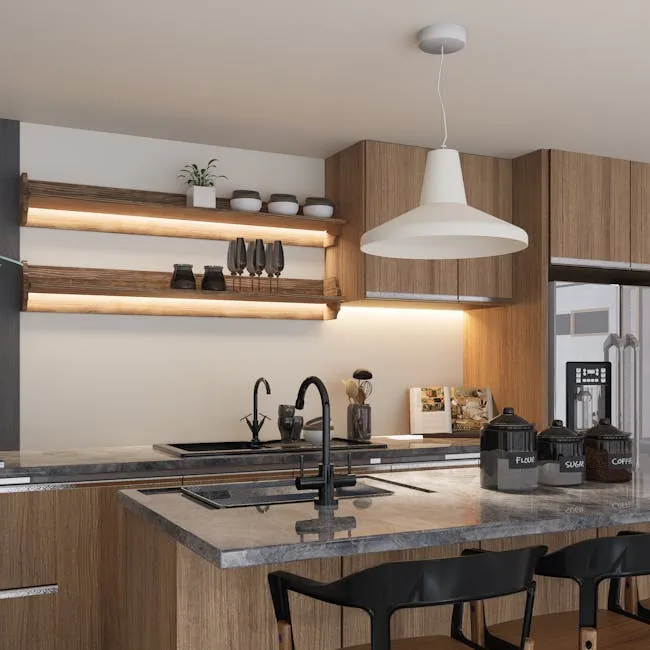
Photo by The Ghazi on Pexels
1. Swap Your Bulbs (The 5-Minute Fix)
First, check the color temperature. If your kitchen feels dark after new lights, they might just be the wrong hue. Swap a few bulbs for ones in the 3500K-4000K range and see the difference. Important: Always check your fixture’s maximum wattage rating before installing brighter bulbs to avoid a fire hazard. Modern LEDs provide high lumens at low wattage, making them a safe upgrade.
2. Add Plug-In or Battery-Powered Task Lighting
This is the ultimate game-changer to brighten a dark kitchen. You can add light exactly where you need it without new wires.
- Under-Cabinet LED Strips: Choose plug-in or battery-operated adhesive strips. Plug the transformer into an outlet inside a cabinet for a clean look.
- Plug-In Pendant Lights: For islands or peninsulas without wiring, use a plug-in pendant kit. The cord can be run neatly along the ceiling and down a wall to an outlet.
- Battery-Powered Puck Lights: These are great for inside glass-front cabinets or under open shelving for a quick accent light boost.
3. Use Reflective Surfaces & Strategic Lamps
Amplify the light you already have. A strategically placed floor lamp in a dark corner or a sleek plug-in wall sconce can work wonders. Also, consider adding a light-colored rug or using glossy paint on ceilings and walls to bounce light around the room more effectively.
When to Call a Pro: Signs You Need a Lighting Redesign
While many fixes are DIY-friendly, some situations call for a professional. If you’ve tried the solutions above and your kitchen still feels dark after new lights, or if you encounter these issues, it’s time to consult an electrician or lighting designer.
Call a pro if: you have persistent dark zones that no plug-in light can reasonably address; your home has outdated wiring that can’t support additional circuits or modern dimmers; you desire a fully integrated, hardwired lighting system with dimming controls for different zones; or you are planning a full kitchen remodel and want to build a perfect layered lighting plan from the studs out. A professional can assess your space, ensure everything is to code, and create a cohesive system that eliminates shadows for good.
Lighting Your Kitchen Right: A Final Thought
Solving the puzzle of a dark kitchen after an update is less about raw power and more about intelligent design. It’s understanding that light must be placed thoughtfully, layered effectively, and tuned to feel natural. Start by auditing your space against the common mistakes. Then, pick the safest, simplest fix—like swapping bulb color temperature or adding a plug-in under-cabinet light—and experience the immediate improvement. Remember, a truly bright and functional kitchen is built like a layer cake, not delivered by a single bulb. With a strategic approach, you can transform your space from dim and frustrating to brilliantly inviting.