Does your kitchen feel stuck in a time warp, but the thought of a full cabinet remodel—with its dust, demolition, and daunting price tag—makes you want to close the doors and forget about it? You’re not alone. The good news is that the most impactful change often doesn’t require ripping everything out. The best way to refresh kitchen cabinet doors is to treat them as a blank canvas, not a burden. By focusing on the surfaces you see and touch every day, you can achieve a stunning kitchen cabinet door makeover that feels entirely new, all while keeping your existing boxes intact. This guide is your practical toolkit, breaking down the four most effective methods—from a simple coat of paint to a strategic door swap—and then giving you a clear, step-by-step routine to execute your chosen update with confidence.
The best way to refresh kitchen cabinet doors without a full remodel is to first assess their condition, then choose a method that fits your skill and budget. For a dramatic change, painting or staining is highly effective. For a faster update, consider replacing just the doors and drawer fronts, or applying adhesive veneers for a wood-grain look. Proper prep is the non-negotiable key to a lasting result.
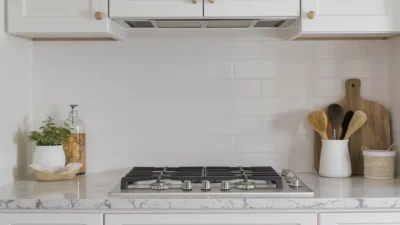
Your Cabinet Refresh Toolkit: The 4 Core Methods
Photo by cottonbro studio on Pexels
Think of this as your menu of options. The best approach for your kitchen depends on your cabinet’s condition, your budget, and your DIY comfort level. Here’s a quick overview of the four most effective ways to achieve a cabinet door makeover without a full remodel.
1. Paint or Stain
This is the classic, full-coverage transformation. It works on almost any material and is the most budget-friendly way to completely change your kitchen’s color palette. It requires thorough prep but offers the highest visual impact for the cost.
2. Replace the Doors Only
If your cabinet boxes are in good shape but the doors are damaged or you hate the style, this is your solution. You keep the existing framework and simply install new doors and drawer fronts. It’s a more significant investment than paint but delivers a brand-new look.
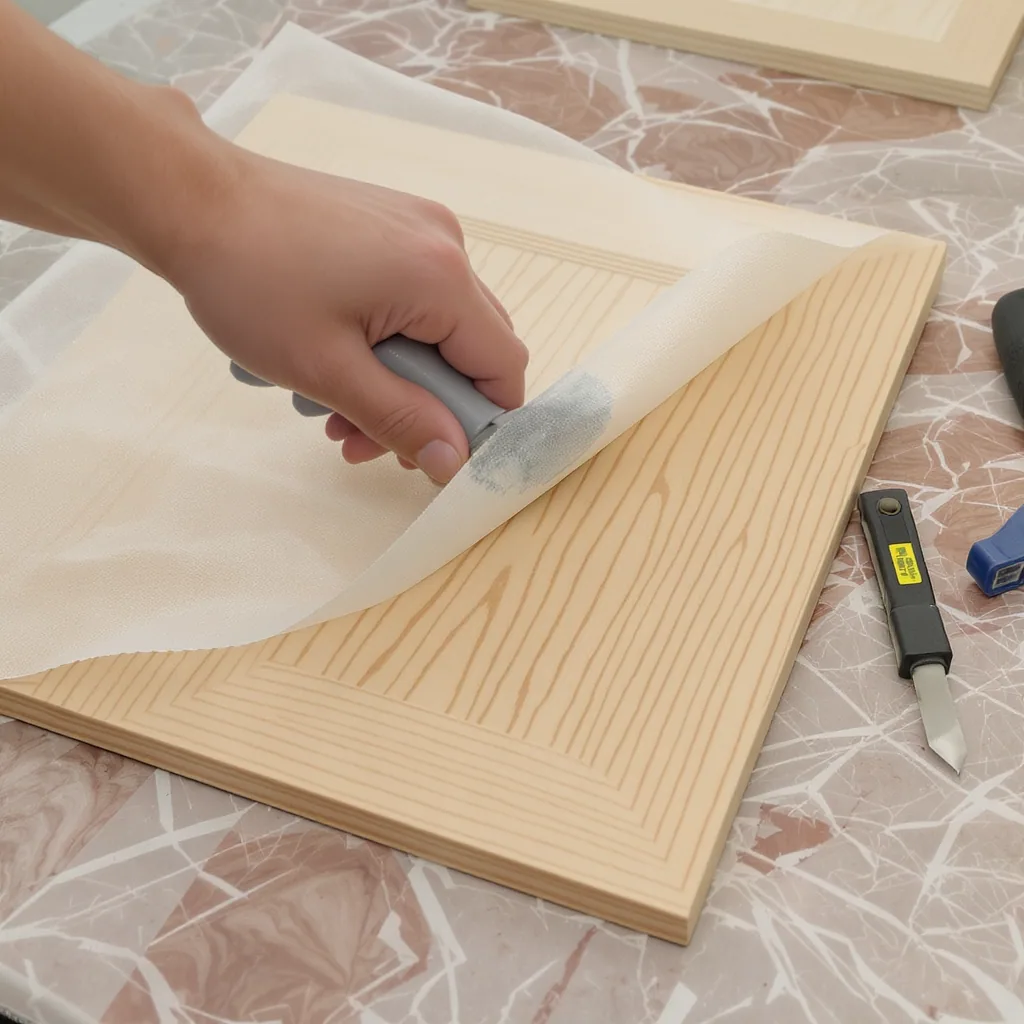
3. Apply Adhesive Veneer
For a quick wood-grain update on flat, laminate doors, peel-and-stick wood veneer sheets are a clever hack. It’s a lower-commitment project that can mimic the look of real wood without the cost or complexity of replacement.
4. Add Trim or Molding
This is a creative way to change the style of flat, boring cabinet doors. By gluing and nailing thin wood trim to the face, you can create a custom shaker or paneled look. It’s an inexpensive cabinet update that adds architectural detail.
Method 1: The Power of Paint (A Full Transformation)
For most people, painting is the ultimate cabinet door transformation. It’s affordable, offers endless color choices, and, when done correctly, yields professional-looking results. The secret isn’t in the paint itself—it’s in the preparation.
Your success hinges on a non-negotiable prep routine. Here’s your mini-checklist:
- Clean & Degrease: Use a strong degreaser or a TSP substitute to cut through years of kitchen grime. Rinse thoroughly and let dry completely.
- Sand: Lightly sand all surfaces with 120-150 grit sandpaper. You don’t need to strip the old finish, just “scratch” it so the primer has something to grip. Wipe away all dust with a tack cloth.
- Prime: Apply a high-quality bonding primer designed for cabinets. This step seals the old surface, prevents stains from bleeding through, and ensures your topcoat adheres perfectly. Don’t skip it.
For paint, a durable alkyd (oil-based) enamel is the gold standard for a hard, smooth finish, though high-quality acrylic (water-based) cabinet paints have improved dramatically. Brands like Benjamin Moore offer excellent guides. If you want to minimize sanding, specialty paints like chalk paint can be an option, but they often require a protective topcoat.
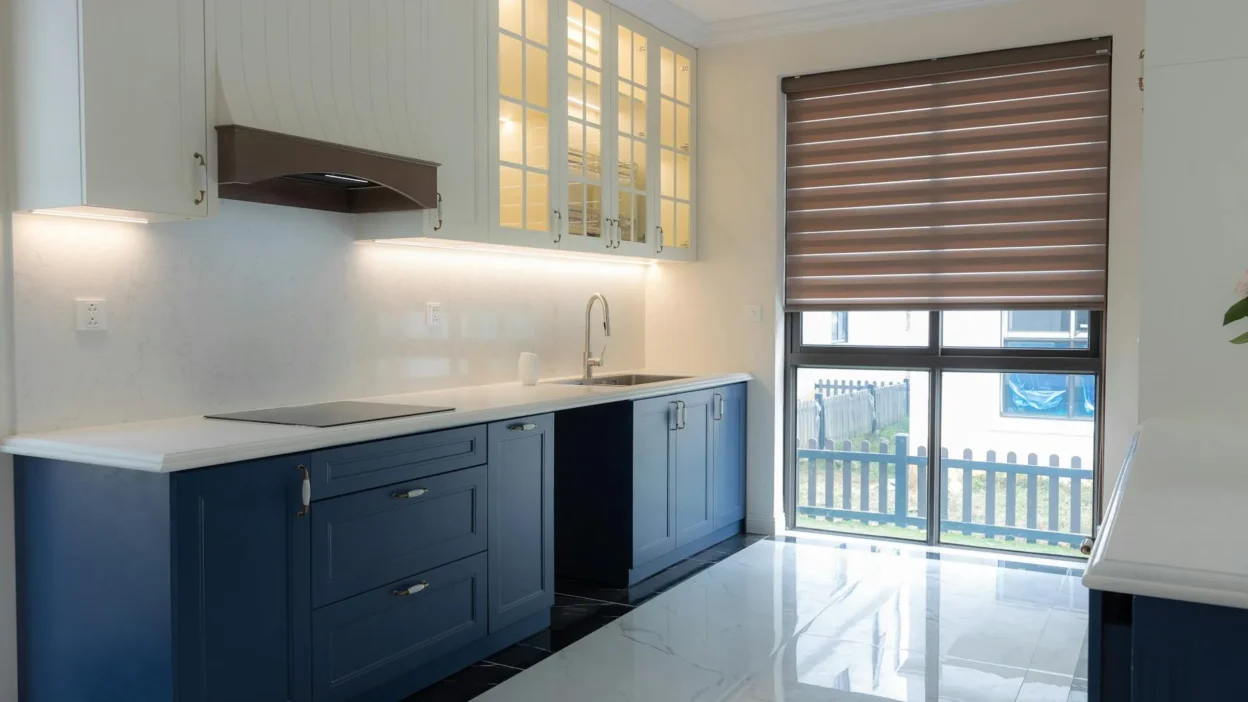
Method 2: The Swap – New Doors, Old Boxes
This scenario is perfect when your existing doors are beyond a simple refresh—they might be warped, damaged, or just a style you truly despise. The concept is simple: you order new doors and drawer fronts sized to fit your existing cabinet boxes. This approach gives you the look of no remodel kitchen cabinets with a fraction of the cost and mess of a full tear-out.
The key is accurate measurement. You’ll need to measure the height and width of each door opening precisely, noting the overlay (how much the door hangs over the box). Also, check your existing hinge type (e.g., European cup hinge) to see if you can reuse them. Many online retailers and local cabinet shops offer this service. You can choose from materials like solid wood, painted MDF, or even slab styles.
Pro Tip: Always order a single sample door first. This lets you check the quality, finish, and color in your actual kitchen lighting before committing to the full set.
Method 3 & 4: Quick Cover-Ups & Added Detail
For those seeking faster, lower-lift cabinet door makeover ideas, these two methods are excellent contenders.
Adhesive Wood Veneers
This is essentially a high-quality sticker for your cabinets. Peel-and-stick wood veneer sheets come in various wood grains and can instantly cover dated laminate or a light wood tone. The process is straightforward: clean the door thoroughly, cut the veneer slightly oversized with a sharp utility knife, apply it slowly while using a squeegee or roller to push out air bubbles, then trim the excess. It’s a temporary-to-semi-permanent solution that requires a very smooth, flat starting surface.
Adding Trim & Appliques
If you have flat, slab cabinet doors, you can create a custom shaker style with simple wood trim. Measure and cut thin molding (like screen bead or lattice) to create a rectangle or square on the door face. Attach it using wood glue and small finish nails, then fill the nail holes and any gaps with wood filler. Once sanded and painted, it looks like a built-in panel. This is one of the most creative and inexpensive cabinet updates, adding character for just a few dollars per door.
Your 5-Step Refresh Routine
Now that you know your options, here’s the actionable routine to guide your project from start to finish. Following these steps is the best way to ensure a smooth process and a lasting result.
- Assess & Clean. Take all your doors and drawers off, labeling them with painter’s tape. Give everything a deep clean to see the true surface condition. This will inform your method choice.
- Choose Your Method. Based on your assessment, budget, and desired look, pick one of the four core methods outlined above. Don’t overcomplicate it—pick the one that fits your reality.
- Gather Tools & Materials. Make a comprehensive list. For paint, this means sandpaper, primer, paint, brushes, rollers, and a drop cloth. For new doors, it’s a screwdriver and your measurements. Having everything on hand prevents mid-project frustration.
- Prep is Everything. This step cannot be rushed. Whether you’re sanding for paint, cleaning for veneer, or filling holes for new hardware, meticulous preparation is what separates a professional-looking refresh from a DIY disaster. Invest your time here.
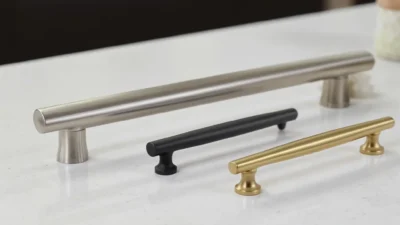
- Execute & Style. Apply your chosen method with patience. Add the finishing touches like new knobs or pulls. When you rehang the doors, take a moment to adjust the hinges for perfect alignment. Finally, style your new-looking kitchen with a few decorative items to complete the transformation.
Your Dream Kitchen is Closer Than You Think
A beautiful, updated kitchen doesn’t require a full-scale demolition project. By choosing the right method for your cabinets and committing to the crucial prep work, you have the power to create a space you love at a fraction of the cost. Whether you pick up a paintbrush or order new doors, the result will be a kitchen that feels fresh, modern, and uniquely yours. Trust the process, enjoy the project, and get ready to fall in love with your home all over again.