Let’s be honest: the biggest mistake in a budget kitchen refresh isn’t spending too little—it’s spending on the wrong things first. You can pour money into new appliances or dream of quartz countertops, but if your cabinets are grimy, your lighting is harsh, and your space feels cluttered, those big-ticket items won’t deliver the transformation you crave. A strategic, affordable kitchen decor refresh is about understanding the psychology of visual impact, making smart trade-offs, and sequencing your efforts to get the most ‘wow’ for your dollar. This guide cuts through the noise to give you a clear, prioritized plan. We’ll focus on high-leverage changes that create immediate, dramatic results, proving that a stunning kitchen makeover on a budget is less about writing big checks and more about making brilliant, calculated choices.
A successful budget kitchen refresh prioritizes high-impact, low-cost visual changes over structural work. Start by allocating your funds to paint, updated hardware, improved lighting, and deep cleaning to create immediate transformation. This foundational layer of updates delivers the most significant visual change per dollar spent. Once these are complete, you can then assess if more expensive updates are even necessary, ensuring your kitchen refresh budget planning is both effective and efficient.
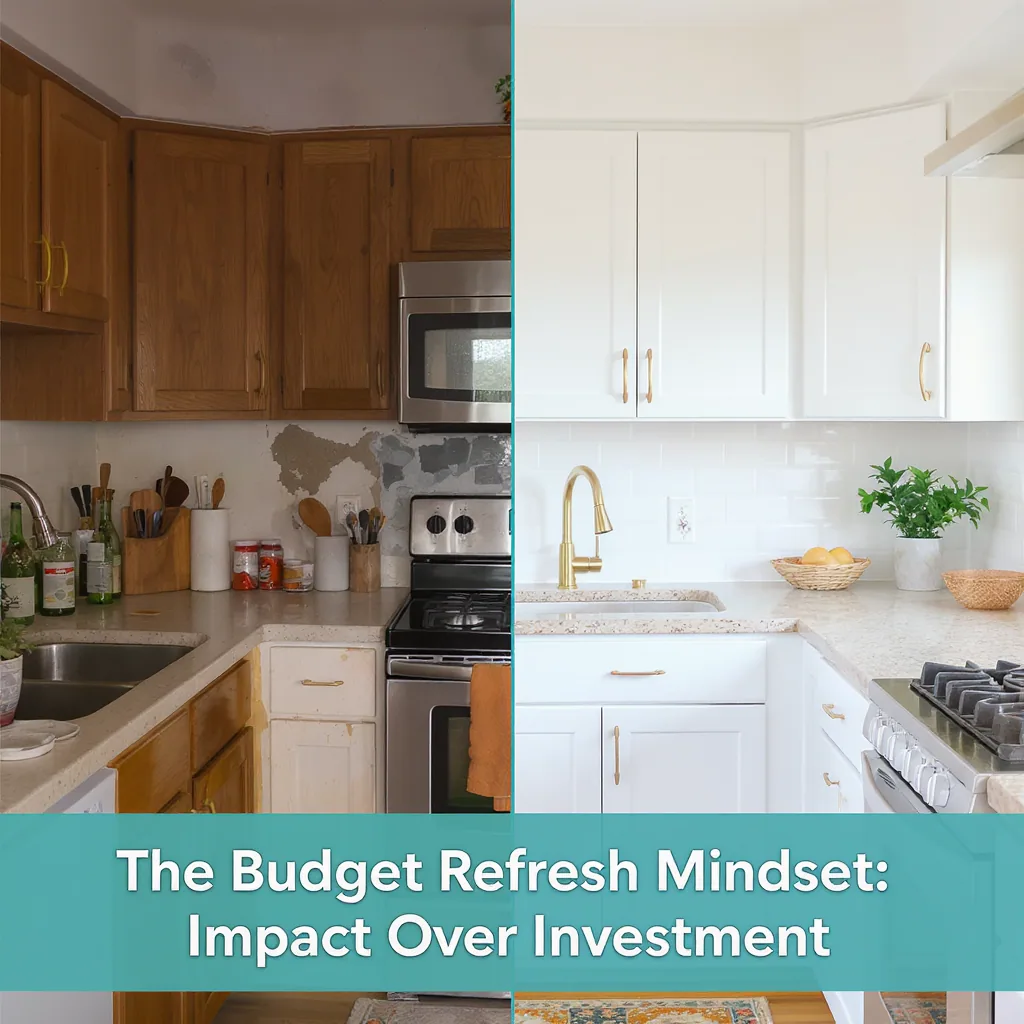
The Budget Refresh Mindset: Impact Over Investment
Forget the idea that a stunning kitchen requires a five-figure check. The most successful budget kitchen refresh priorities aren’t about how much you spend, but where you spend it first. This guide is built on a simple, powerful concept: cost-per-wow. Your goal is to maximize the visual and functional transformation for every dollar, focusing on changes that are seen and felt immediately.
Think of it as the 80/20 rule for your kitchen. Often, 80% of the new look you crave comes from 20% of the cost of a full renovation. This mindset shift is the core of smart kitchen refresh budget planning. It means choosing a gallon of premium paint over a cheap laminate countertop, or investing in a statement light fixture before even considering new cabinet doors. We’re going to prioritize based on impact, not just price tags.
This approach requires honest trade-offs. You might adore that farmhouse sink, but if your cabinets are dark, dingy, and cluttered, the sink will just sit in a depressing room. By following a strategic sequence—tackling high-impact, low-cost updates first—you often find that the expensive “dream” items become less necessary, or you can save for them deliberately later.
Tier 1: The Non-Negotiables (Under $500 Total Impact)
This is where every single refresh must begin, regardless of your final budget or style. These steps cost little but deliver enormous returns, setting the stage for everything else. Skipping them is like putting new furniture in a dirty room—it just won’t shine.
The Foundational Four: Clean, Clear, Coat, and Connect
Before you buy a single new item, execute these four pillars. They are the non-negotiable foundation of your affordable kitchen decor refresh.
- Deep Clean & Declutter: This is free. Remove everything from countertops, clean cabinets inside and out, descale the faucet, and scrub grout. Be ruthless about purging unused gadgets and expired food. A clean, spacious kitchen instantly feels more valuable.
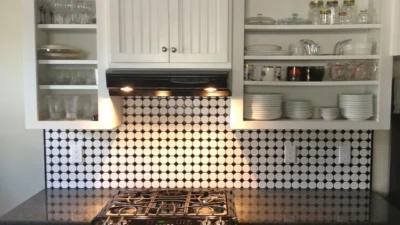
- The Power of Paint: Painting walls or cabinets is the single highest-impact, lowest-cost change you can make. A gallon of quality paint can transform the entire mood. For cabinets, proper prep (cleaning, deglossing, priming) is 90% of the job.
- Hardware Swap: Replacing dated knobs and pulls is the “jewelry” for your kitchen. It’s a quick update that modernizes cabinets and drawers instantly. Match the finish to your faucet and lighting for a cohesive look.
- Lighting Check: You don’t need new fixtures here yet. Simply ensure all bulbs are the same, bright color temperature (2700K-3000K for warm white) and clean your existing fixture covers. Good, consistent light makes all other improvements look better.
Completing Tier 1 alone will make your kitchen feel like a new space. It addresses the core issues of cleanliness, light, and color that our brains perceive first. Only after this foundation is solid should you even look at Tier 2.
Tier 2: The Game Changers ($500 – $1500 Strategic Spend)
With your clean, painted, and brightened base, you now enter the realm of strategic upgrades. Here, your kitchen refresh budget planning gets personal. You must diagnose your kitchen’s biggest remaining weakness and allocate funds to solve it. This is about targeted investments that elevate function and style.

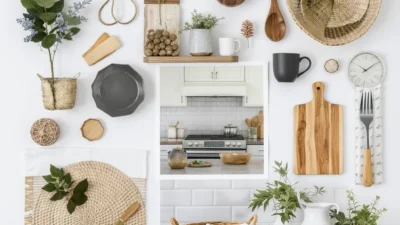
Your choice depends on your kitchen’s specific pain point. If the room feels dark and cave-like, lighting is your priority. If the sink area screams 1998, a modern faucet and peel-and-stick backsplash tile will do wonders. If you lack character, open shelving and intentional decor can inject personality. The table below compares these key mid-budget moves to help you decide.
| Update | Approx. Cost Range | DIY Difficulty | Visual Impact | Best For… |
|---|---|---|---|---|
| New Overhead Light Fixture(s) | $100 – $400 | Medium (electrical) | High | Dark kitchens, dated “boob” lights, defining a style. |
| Modern Kitchen Faucet | $150 – $350 | Low-Medium | Medium-High | Updating a 90s-era sink area, improving function. |
| Peel-and-Stick Backsplash | $50 – $200 | Low | High | Renters, quick color/pattern, hiding ugly tile. |
| Open Shelving (Replace one upper cabinet) | $100 – $300 | Medium (requires stud-finding/leveling) | High | Small kitchens, adding airiness, displaying nice dishware. |
| Under-Cabinet Lighting (LED strips) | $80 – $200 | Low | Medium-High | Task lighting, creating ambiance, highlighting counters. |
You likely won’t do all of these. The key is to pick the one or two that solve your biggest annoyance. A new faucet and a stick-on backsplash can completely redefine your sink wall for under $500. Or, a stunning pendant light and under-cabinet LEDs can solve a fundamental lighting problem. This tier is where your budget does the heavy lifting of defining your new kitchen’s character.
Tier 3: The Splurge Considerations ($1500+)
These are the big-ticket items: countertops, appliances, flooring, and full cabinet replacement. In a budget-friendly kitchen upgrade plan, these are deferred or approached with extreme strategy. The truth is, after nailing Tiers 1 and 2, you may find the urge to splurge has faded. But if your budget allows and a core element is truly failing, here’s how to think about it.
Countertops are a prime example. While quartz or granite is a major investment, a worn, stained laminate can undermine all your other updates. In this case, consider cost-effective but durable alternatives like butcher block or high-quality laminate. For a truly temporary fix, specialty countertop paints exist, but manage your expectations on durability. Similarly, if your flooring is damaged, luxury vinyl plank (LVP) offers a fantastic, waterproof, DIY-friendly alternative to hardwood or tile at a fraction of the cost.
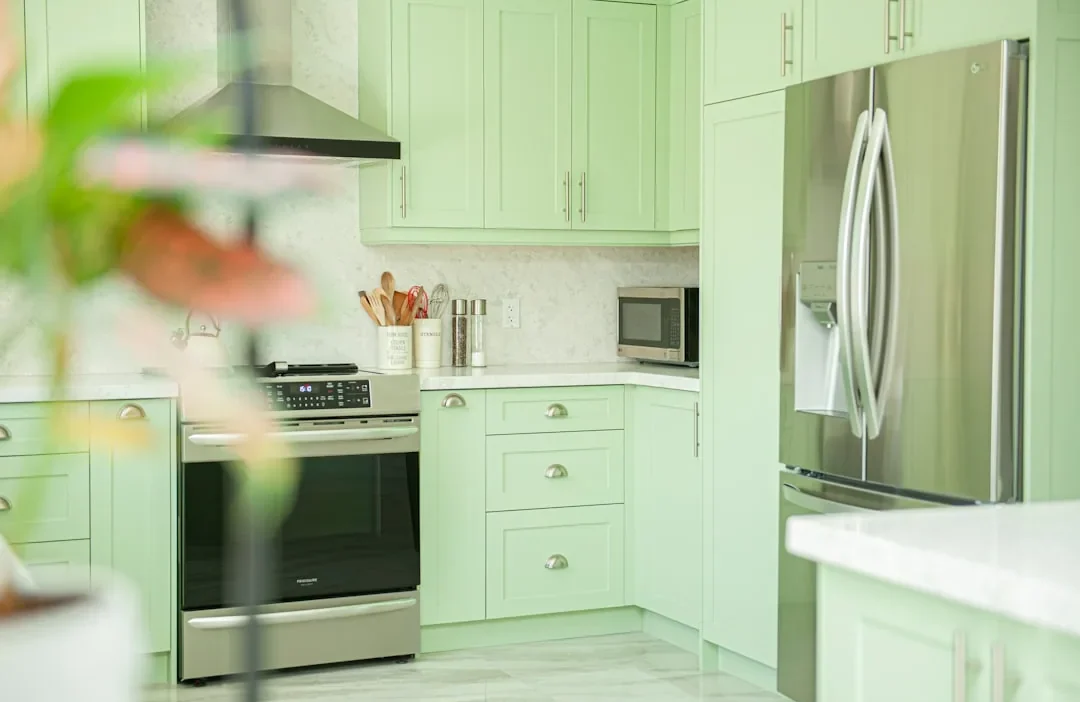
Appliances are a tricky priority. Unless yours are broken or wildly inefficient, they are often a lower visual-impact upgrade. A stainless steel fridge doesn’t look glamorous in a cluttered, poorly lit kitchen. If you must update one, prioritize the most visible or used appliance, like the range or fridge, and consider reputable scratch-and-dent outlets. The rule for Tier 3 is simple: only proceed here if your foundational and mid-tier work is done, and the item is a genuine functional problem or the last remaining eyesore. Often, it’s not.
Your Personal Priority Filter: A Decision Flow
Now, let’s turn this framework into your personal action plan. Grab a notepad and ask yourself three filter questions to build your custom priority list.
1. What Bothers You the MOST? Be specific. Is it the darkness? The honey-oak cabinets? The lack of counter space? The gold faucet? Write down the top two irritants. This identifies your Tier 2 target.
2. What’s Your REAL Total Budget? Be honest. Now, allocate it using the tiered philosophy: 20% for Tier 1 supplies (paint, cleaner, hardware), 50-70% for your chosen Tier 2 “Game Changer,” and leave the remainder as a contingency or seed money for a future Tier 3 item.
3. What’s Your DIY Comfort Level? Be realistic. If you’ve never held a drill, a faucet swap might be your limit. If you’re handy, painting cabinets or installing open shelves is in play. Your skill set determines which high-impact projects you can tackle yourself, stretching your budget further. For complex tasks like electrical, know when to hire a pro.
Your final plan might look like: “Budget: $1,200. Biggest issue: Dark and dated. DIY Skill: Medium. Priority 1: Deep clean & paint walls (Tier 1). Priority 2: Install two new pendant lights & under-cabinet LEDs (Tier 2). Priority 3: Save leftover $ for a new faucet next month.” This filtered, personalized approach is the essence of strategic kitchen makeover priorities on a budget.
Start With the First Brushstroke
The most powerful step in any budget kitchen refresh is the first one that creates visible change. Overthinking the perfect plan often leads to paralysis. Instead, use the tiered philosophy as your map, but let momentum be your fuel.
Your decisive next step is simple: pick the single fastest item from Tier 1 and do it this weekend. Clean out that one cluttered drawer. Go to the hardware store and pick out three paint samples. Remove your cabinet hardware to see what’s underneath. This immediate, tangible progress is more valuable than any Pinterest board. It proves the transformation is possible and builds the confidence to tackle the next priority. Your refreshed kitchen isn’t waiting for a big check—it’s waiting for you to start.
This guide frames a budget kitchen refresh as a strategic sequence, not a shopping list. The core philosophy is to maximize visual impact per dollar, starting with foundational, low-cost changes before considering major investments.
Key Takeaways: Always begin with Tier 1 non-negotiables: deep cleaning, decluttering, paint, and hardware. Diagnose your kitchen’s main weakness to choose a targeted Tier 2 upgrade, like lighting or a faucet, for the biggest mid-budget impact. View expensive Tier 3 items (countertops, appliances) as optional final touches, not starting points. Use the personal filter—what bothers you most, your total budget, your DIY skill—to build a custom plan that ensures your money and effort create the transformation you actually see and feel every day.