Does your kitchen feel just a little… off? The cabinets are fine, the layout works, but the dated brass pulls, the mismatched faucet, and that builder-basic light fixture are holding the entire room back from its potential. You’re craving a fresh, cohesive look, but the thought of a full-scale renovation is overwhelming, both in cost and chaos. The good news is that you don’t need one. A transformative kitchen refresh is entirely within reach, and it starts not with a sledgehammer, but with a simple, focused kitchen hardware update checklist. By methodically swapping out your cabinet hardware, faucet, and lighting, you can achieve a unified, magazine-worthy aesthetic that makes your entire kitchen feel thoughtfully designed. This guide provides the clear, actionable steps you need to move from frustration to a perfectly coordinated space.
A cohesive kitchen hardware update starts with a full audit of your current cabinet pulls, faucets, and lighting. Then, choose a unified finish and profile that complements your kitchen’s existing style before methodically purchasing and installing. Following a structured checklist ensures you assess function, coordinate finishes, measure accurately, and avoid common pitfalls for a professional-looking refresh.
Your Pre-Update Kitchen Audit (The Foundation)
Before you buy a single new knob, you need a clear picture of what you’re working with. This audit is your kitchen hardware refresh guide starting point. Grab a notepad and your phone’s camera, and work through this mini-checklist.
- List Every Hardware Piece: Open every cabinet and drawer. Count and categorize all pulls, knobs, hinges (if visible), and backplates. Don’t forget appliance handles that are integrated or could be replaced.
- Document Current Finishes: Note the metal finish on every item. Is it polished brass from the ’90s, a mismatched brushed nickel, or a worn chrome? Also, look at your faucet, light fixtures, and appliance handles. This reveals your starting point for kitchen fixture coordination.
- Assess Function & Condition: Jiggle every pull. Are any loose? Do drawers stick because of protruding hardware? Is the faucet dripping or difficult to operate? This step separates style updates from necessary repairs.
- Photograph Everything: Take clear, well-lit photos of cabinets, drawers, and existing hardware. Capture wide shots for context and close-ups of details. These are invaluable for shopping and ensuring new pieces will fit.
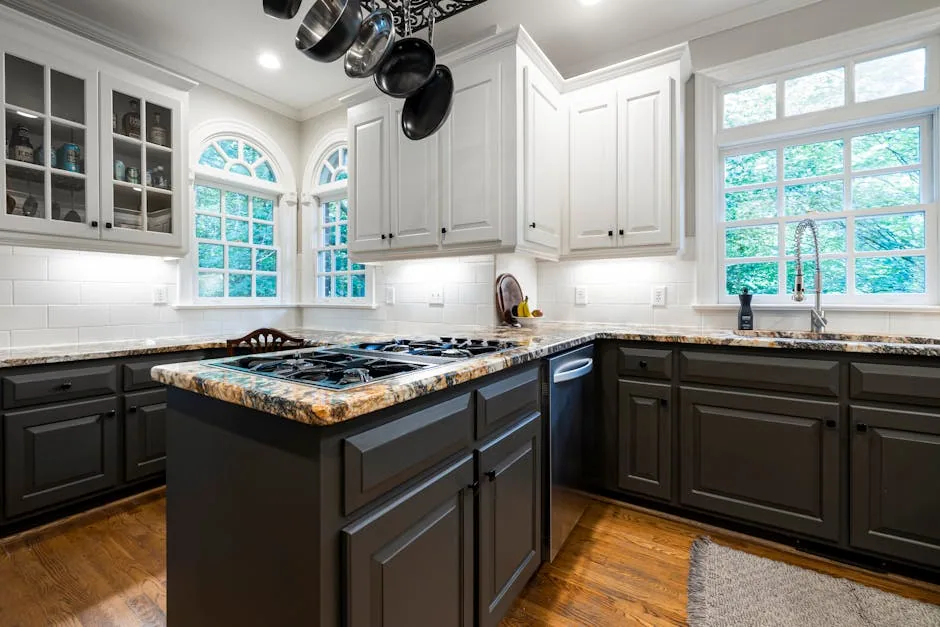
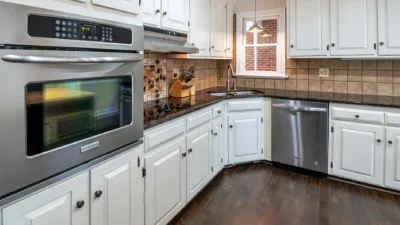
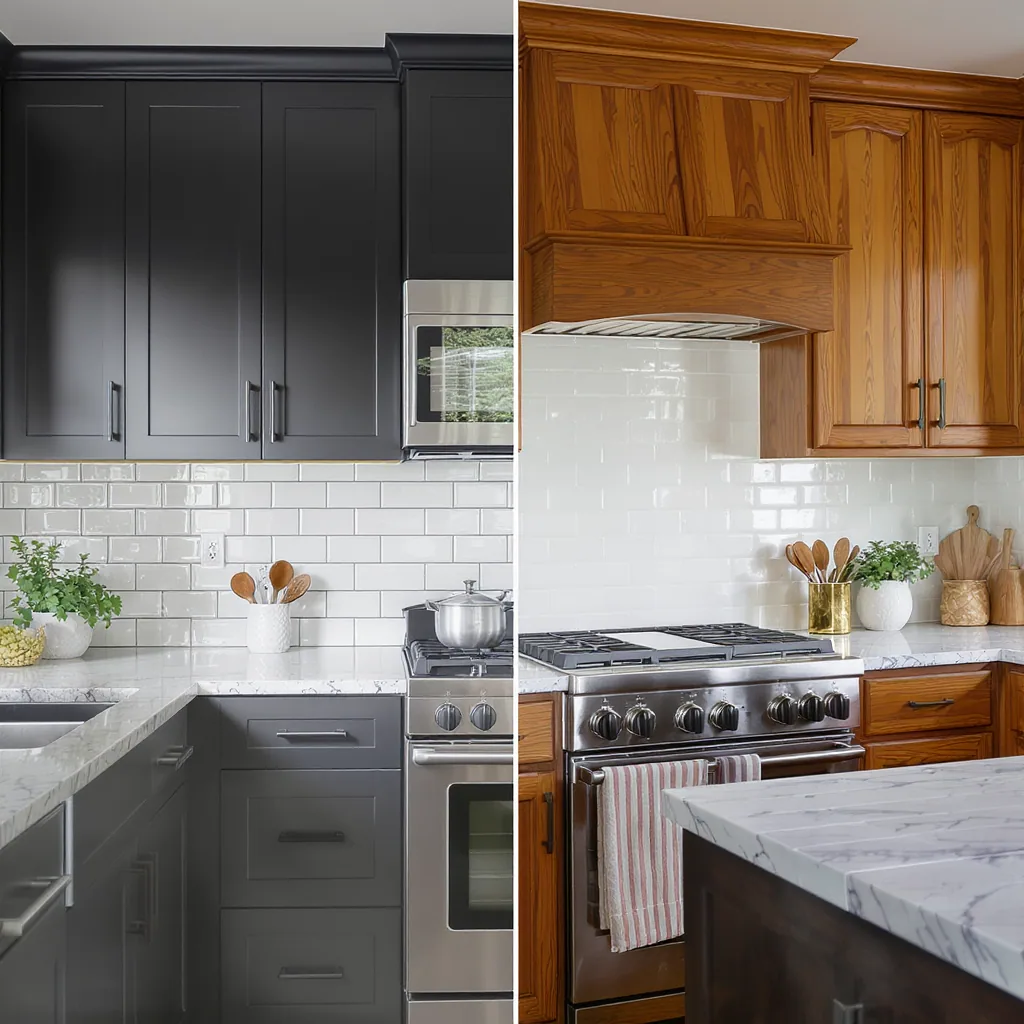
Photo by Curtis Adams on Pexels
This audit gives you a concrete list of what needs replacing and highlights the functional pain points your update should solve.
Choosing a Cohesive Style & Finish
This is where your kitchen transforms from a collection of parts into a unified space. The goal is harmony, not matchy-matchy perfection. Follow these practical dos and don’ts to nail your selections.
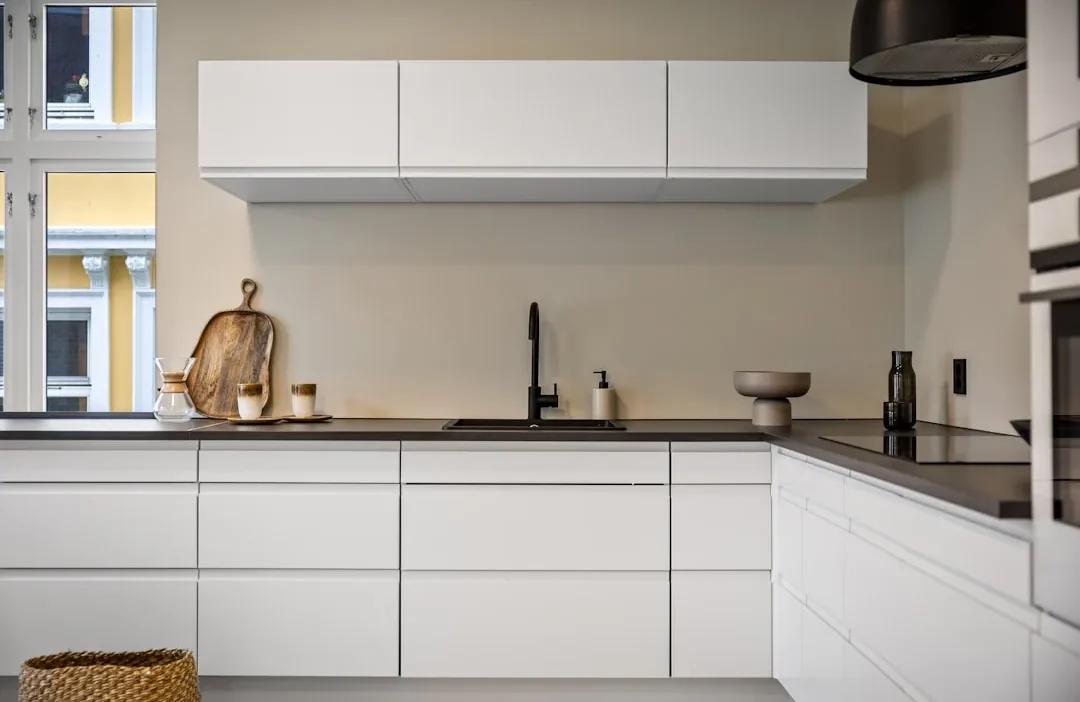
Do: Let one existing element guide your finish choice. If your stainless steel sink or appliances are staying, a brushed nickel or matte black finish often creates a seamless look. Your faucet and lighting are the most visible fixtures, so start there.
Don’t: Introduce more than two metal finishes in one sightline. Three or more different metals can look chaotic. It’s often best to pick one dominant finish (e.g., matte black for cabinet hardware and faucet) and use a second as a subtle accent (e.g., brass in your pendant lighting).
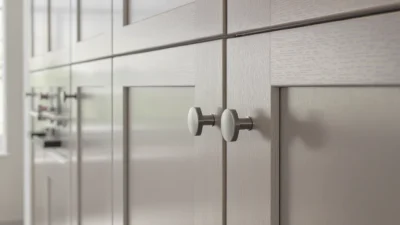
Do: Consider your cabinet color and countertop when choosing a profile. Sleek, linear pulls suit modern, flat-panel cabinets, while more ornate knobs complement traditional shaker styles. For a great visual guide on how finishes work in real kitchens, check out this resource on popular hardware finishes and styles.
Don’t: Forget about feel. If you’re updating a busy family kitchen, avoid sharp edges or overly delicate profiles. The hardware should feel good in your hand and stand up to daily use.
The Core Hardware Update Checklist
With your audit done and a style chosen, it’s time for action. This is your master cabinet hardware shopping checklist and installation plan, broken into logical phases.
Phase 1: Measure & Source
- Measure Hole Spacing: For existing pulls, measure the “center-to-center” distance between screw holes. For new placements, a good rule of thumb is to place a pull horizontally centered on a drawer panel and about 1-2 inches from the bottom edge of an upper cabinet door.
- Create a Template: Use painter’s tape and a ruler to mark exact hole positions on a cabinet before drilling. This ensures perfect alignment across all doors and drawers.
- Finalize Your Count: Add up all knobs and pulls needed. Don’t forget any specialty pieces, like a bin pull for a trash cabinet or a longer pull for a pantry door.
Phase 2: Purchase
- Order Samples First: Always buy one or two physical samples of your top choices. See how the finish looks in your kitchen’s light and feel the weight and texture.
- Buy 10% Extra: Order a few more pieces than your count. This covers mistakes, future additions, or pieces that arrive damaged. Store the extras.
- Verify Screw Length: Ensure the screws included with your new hardware are the correct length for your cabinet door/drawer thickness. Too long and they’ll poke through; too short and they won’t grip.
Phase 3: Preparation
- Gather Tools: You’ll typically need a screwdriver (often a #2 Phillips), a drill with the correct bit size, a tape measure, painter’s tape, and wood filler if you’re covering old holes.
- Fill Old Holes: If your new hardware has a different hole spacing, fill the old holes with wood filler, let it dry, sand smooth, and touch up with paint or stain.
Phase 4: Installation
- Use Your Template: Tape your drilling template to each cabinet door or drawer front. Double-check alignment before drilling.
- Install One Cabinet First: Fully install the hardware on one cabinet as a test. Step back and check the look and function before proceeding with the whole kitchen.
- Check Alignment as You Go: After installing a row of drawers, step back to ensure all pulls are level and visually aligned.
Common Hardware Update Mistakes to Avoid
Even with a good plan, small oversights can trip you up. Steer clear of these frequent pitfalls to ensure your kitchen cabinet hardware update goes smoothly.
1. Not Checking Hole Center-to-Center Measurements: Assuming all “standard” pulls will fit your existing holes is a costly error. An inch difference means drilling new holes and filling old ones, which adds significant work.
2. Skipping Samples and Buying Online Blindly: A finish that looks warm and soft online can look cold and cheap in your home. The heft and detail are impossible to judge from a product photo alone.
3. Forgetting to Coordinate with the Sink Faucet: Your faucet is a major fixture. If you’re not replacing it, your new cabinet hardware finish should complement it. A clash here undermines your cohesive design.
4. Using the Wrong Screw Length: Cabinet door thickness varies. Using screws that are too long can damage the interior of the cabinet or scratch dishes. Always test-fit a screw on an inconspicuous door first.
5. Ignoring Ergonomics: Choosing a stunning but tiny knob for a heavy pantry door is a functional fail. Ensure the hardware you select is proportionate to the cabinet and comfortable to use daily.
Your Cohesive Kitchen Awaits
Updating your kitchen hardware is one of the most impactful, cost-effective changes you can make. By following this structured process—auditing what you have, choosing a unified style, and methodically working through the checklist—you transform a potential headache into a satisfying project. You’re not just swapping out metal; you’re refining the feel and function of your entire kitchen.
The path to a pulled-together space is clear. Start your audit today. Take those photos, jiggle those loose handles, and make your notes. With a focused plan in hand, you can confidently select and install hardware that makes your kitchen look and work exactly as you’ve imagined.