If you’re staring at your cluttered kitchen counters and thinking the solution is to buy more cute decor, I’m here to offer a counterintuitive truth: the secret to a magazine-worthy kitchen isn’t about adding more—it’s about strategically taking things away first. A truly styled countertop is the result of a thoughtful edit, a process of clearing the visual noise to make room for a few beautiful, functional pieces that actually serve your daily life. This kitchen countertop styling checklist isn’t about piling on knick-knacks; it’s a reset button. It guides you through a methodical clear-out and rebuild, transforming your counters from a catch-all surface into a curated, cleaner, and intentionally updated part of your home that feels both practical and polished.
A cleaner, updated kitchen countertop starts with a complete clear-off, followed by a methodical process of adding back only essential and beautiful items in intentional groupings. Think of it as editing, not just decorating. The core philosophy is that styled counters are about curated function—every item should either be useful daily or bring you genuine joy. Your goal is to establish clear zones for tasks like coffee or prep, use anchor pieces for structure, and layer in texture and a single personal touch, all while leaving plenty of purposeful negative space.
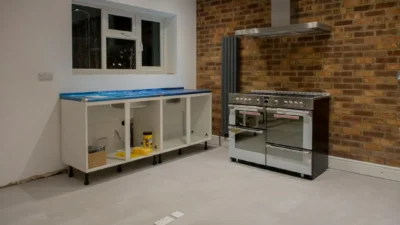
The Pre-Styling Reset: Clear, Clean, Assess
Before you can style, you must edit. This non-negotiable first step is about creating a blank canvas. A true kitchen counter decor checklist begins with subtraction, not addition. Skipping this is the most common reason styled kitchen counters end up looking cluttered instead of curated.
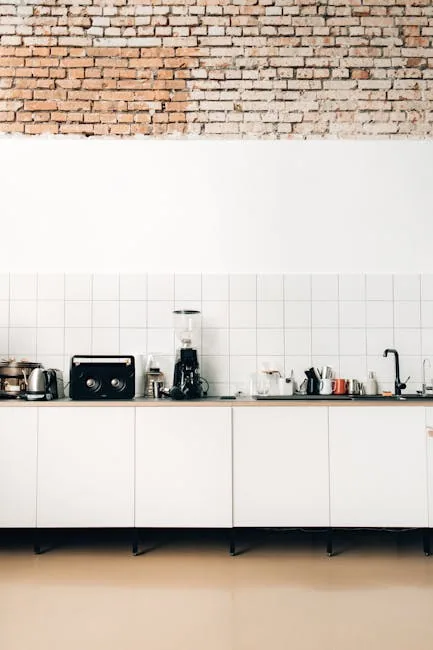
Photo by Maksim Goncharenok on Pexels
Follow this mini-checklist to reset your space:
- Remove Everything. Take every single item off your counters—appliances, knife blocks, mail, sponges, everything. Place it all on your kitchen table or island. This forces you to see what you actually have and use.
- Deep Clean the Surfaces. Wipe down with your preferred cleaner, getting into corners and around the backsplash. A sparkling surface is more inspiring to style upon.
- Evaluate Your Canvas. Look at the lighting (natural and artificial), your backsplash material and color, and the countertop itself. This assessment informs your styling choices—dark counters may need lighter elements, and a busy backsplash calls for simpler decor.
- Identify Permanent Fixtures. Note the locations of your faucet, stove, and any built-in outlets or soap dispensers. These are your fixed points; your styling will work around them.
Your Core Countertop Styling Checklist
Now, with your clean slate, it’s time to rebuild with intention. Imagine you’re setting up a new kitchen. This countertop styling guide walks you through adding items back in a logical, beautiful sequence. Follow these steps to transform empty space into a functional and inviting scene.
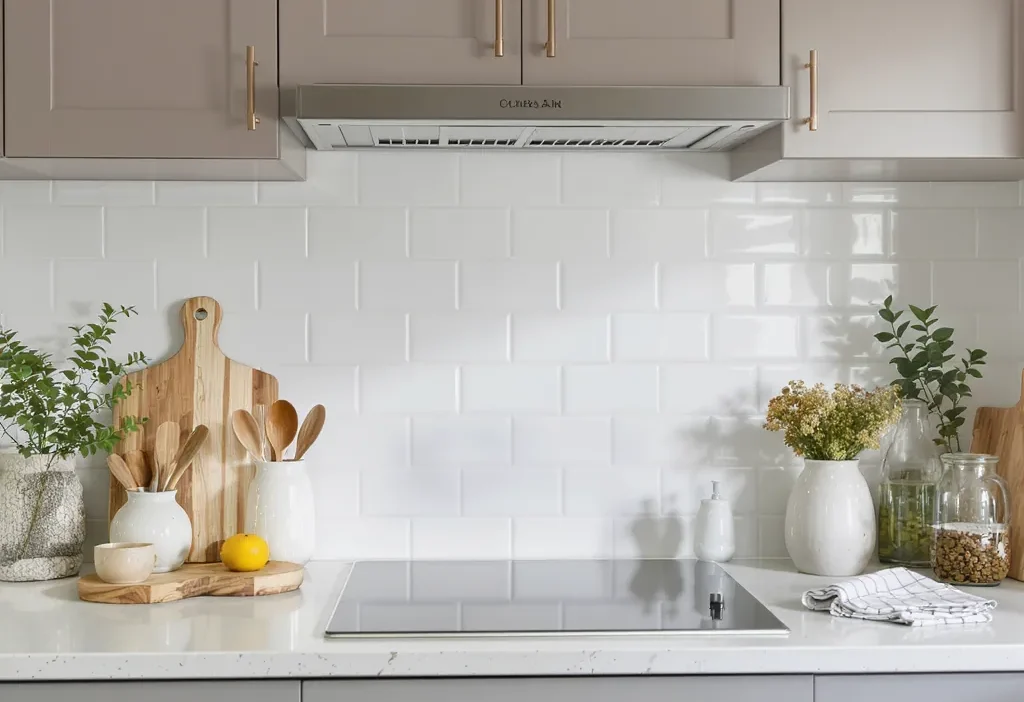
- Define 1-3 Functional Zones. Instead of random placement, group items by purpose. Common zones are: a coffee/tea station, a cooking prep area (near the stove), and a quick breakfast nook. This is the backbone of practical kitchen countertop decor.
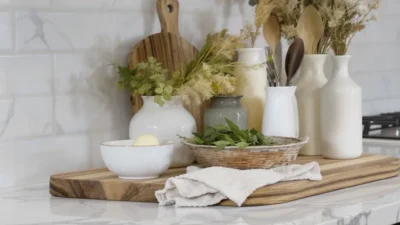
- Place Your Anchor Items. In each zone, start with one substantial, useful item. This could be a utensil crock by the stove, a cutting board on the prep zone, or a coffee maker in its station. Anchors give each zone weight and purpose.
- Add “Practical Decor.” These are items that are both useful and beautiful. Think a wooden bowl with fresh fruit, a small jug for cooking utensils, or a ceramic canister for everyday tools. They serve a function while adding visual appeal.
- Layer in Texture and Height. Flat surfaces feel static. Create visual interest by stacking a few stylish cookbooks and placing a small object on top, or using a stand to elevate a nice soap dispenser. Varying materials (wood, ceramic, metal, live greenery) adds depth.
- Incorporate One “Personality” Piece. Finally, add one item that purely brings you joy or reflects your style—a small piece of art leaned against the backsplash, a unique vintage jar, or a beautiful candle. This single touch prevents the look from being too sterile.
Dos and Don’ts for a Curated Look
Understanding a few core principles will elevate your efforts from “decorated” to “designed.” Keep this quick reference of dos and don’ts in mind as you style to maintain that clean, updated look.
| Do This | Don’t Do This |
|---|---|
| Use groupings of odd numbers (1, 3, 5) for visual appeal. | Line items up in a single, soldier-like row against the wall. |
| Vary heights to create a dynamic, eye-pleasing scene. | Use only short items, leaving the upper half of your wall empty. |
| Leave generous “negative space” (empty counter) between zones. | Overcrowd every inch of available surface. |
| Choose items that are either useful, beautiful, or ideally both. | Include purely decorative knick-knacks with no function or meaning. |
| Edit ruthlessly. If you add something new, consider removing something else. | Keep adding items without subtracting, leading back to clutter. |
Common Countertop Styling Mistakes (And How to Fix Them)
Even with the best intentions, it’s easy to slip into common traps. Here are a few frequent errors people make when trying to achieve styled kitchen counters, along with a simple fix for each.
Mistake 1: The “Everything on Display” Mistake. Treating the counter as primary storage for every daily-use item. The fix: Be brutal. If you don’t use it at least once a day, find a drawer or cabinet for it. Your countertop organization checklist should prioritize accessibility, not inventory.
Mistake 2: The “Too Matchy-Matchy” Mistake. Buying every accessory from the same set, creating a flat, showroom-like feel. The fix: Intentionally mix materials and finishes. Pair a stainless steel canister with a wooden bowl and a ceramic vase. Contrast creates character.
Mistake 3: The “Ignoring Scale” Mistake. Using tiny decor items that get lost on a large counter, or one huge item that overwhelms a small space. The fix: Choose items proportional to your zone. A large kitchen can handle a big fruit bowl and a substantial cutting board, while a galley kitchen might need a single, well-chosen vignette.
Start With Just One Corner
The most effective way to use this kitchen counter decor checklist is to not try to overhaul everything at once. That can feel overwhelming. Instead, pick a single zone—your coffee station, the area next to the stove, or the empty corner by the window—and apply the steps there. Clear it, define its function, and style it intentionally.
Seeing that one small area transformed into a cleaner, more updated look will give you the momentum and confidence to tackle the next. Remember, the goal isn’t a perfect, static magazine shot, but a kitchen that feels both functional and personally uplifting every day. Your decisive next step? Choose your zone and start the reset right now.