Does your kitchen feel like a collection of nice-enough pieces that just don’t work together? You might have a beautiful vase on the counter, a trendy runner on the floor, and cabinets you don’t hate, but the overall look is disjointed, a little dated, or just visually noisy. The frustration of wanting a fresh, coordinated kitchen look without the budget or chaos of a full renovation is real. The good news is that achieving harmony is less about buying all new things and more about applying a simple, strategic filter to what you already have. This practical kitchen decor style checklist is your tool to cut through the overwhelm, define your vision, and systematically layer in style for a space that finally feels intentional and pulled together.
Here’s how to create a coordinated kitchen look: start by clearing all surfaces and assessing your layout. Next, define your core style with 3-5 keywords. Then, systematically apply your kitchen decor style checklist to cabinets, walls, countertops, lighting, and decor, ensuring each layer reinforces your chosen style. Finally, edit ruthlessly to maintain visual calm.
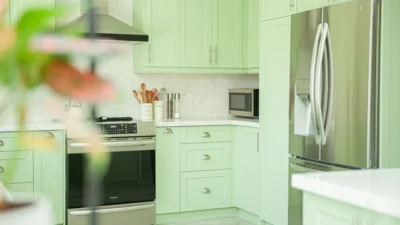
Your 5-Step Kitchen Decor Checklist
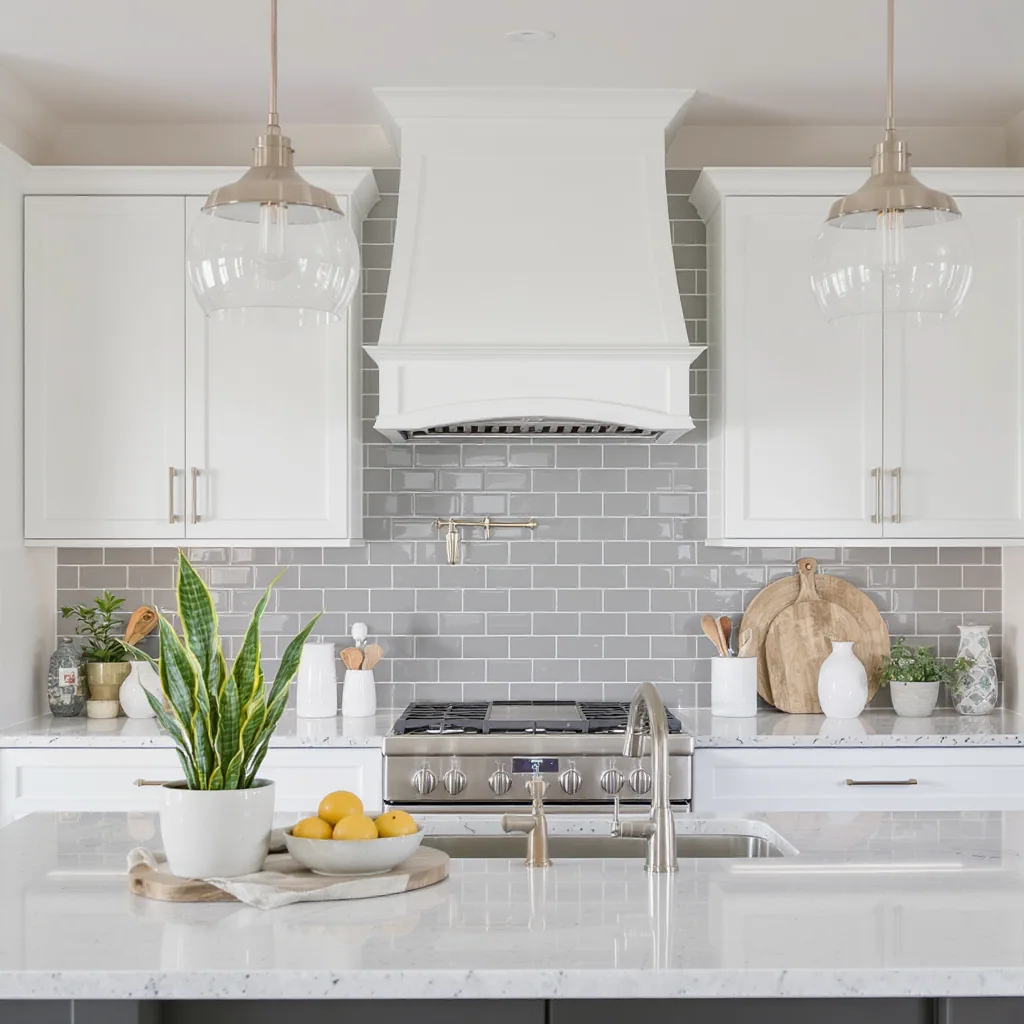
Photo by Meruyert Gonullu on Pexels
This is your core, actionable framework. Think of it as your kitchen styling checklist to cut through the noise and create a space that feels intentionally designed. Follow these five high-level steps in order.
- Clear the Canvas & Assess Your Space. Start with a blank slate to see what you’re really working with.
- Define Your Style Core (The 3-Keyword Rule). Pin down your aesthetic direction to avoid a scattered look.
- Apply the Layered Checklist. Systematically address each layer of your kitchen, from cabinets to decor.
- Edit & Refine. The crucial step of removing visual noise for a calm, coordinated feel.
- Maintain the Vibe. Simple habits to keep your kitchen feeling fresh long-term.
This kitchen design checklist is a tool, not a rigid rule. Use it to guide your decisions, not restrict your creativity.
Step 1: Clear the Canvas & Assess Your Space
Imagine walking into a designer’s studio. The surfaces are clear, allowing you to see the room’s true potential. That’s your goal here. Before you buy a single new item, remove every non-essential item from your countertops, island, and table. Put small appliances, utensil crocks, and random decor into a box for now. This act alone will instantly make your kitchen feel larger and calmer.
With the visual clutter gone, you can properly assess. Stand in the doorway and ask yourself: Where does the natural light hit? What’s the main traffic flow? What are the fixed “bones” you can’t easily change—the cabinet color, floor material, or countertop pattern? This honest assessment is the first, most critical item on any kitchen styling checklist. It tells you what you need to work with, highlight, or softly downplay.
Step 2: Define Your Style Core (The 3-Keyword Rule)
A coordinated kitchen look starts with a clear direction. Without it, you’ll end up with a collection of nice-but-disconnected items. The simplest method is the 3-Keyword Rule.
Do: Choose 3-5 descriptive words that, together, define your desired vibe. Be specific. Instead of just “modern,” try “Scandinavian modern with warm wood.” Instead of “eclectic,” try “collected global with organic textures.” Pin images that fit these keywords on a Pinterest board or save them in a folder. You’ll quickly see a pattern emerge.
Don’t: Try to mix three distinct, full styles like farmhouse, mid-century modern, and Hollywood glam without a strong unifying element (like a consistent color palette). This is a recipe for visual chaos. Your keywords should feel like they belong together, not compete for attention.
Step 3: Apply the Layered Checklist
Now, use your Style Core to systematically address each layer of the kitchen. This is where your kitchen style guide comes to life. Work through this list in order, making decisions that reinforce your chosen keywords.
Cabinets & Hardware
This is your largest visual block. If painting isn’t an option, focus on hardware. Does your Style Core (“polished brass,” “matte black,” “brushed nickel”) dictate a specific metal? Swapping knobs and pulls is a low-cost, high-impact update. Ensure all visible hardware matches or is part of a deliberate, limited mix (e.g., brass knobs and black faucet).
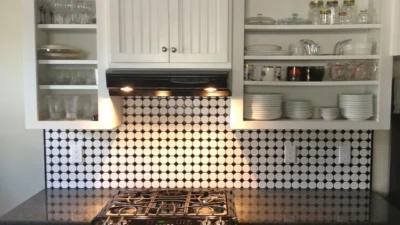
Walls & Backsplash
These are your secondary background. Does your style need a bold tile, a serene paint color, or simply clean, empty wall space? A cohesive kitchen decor scheme means the backsplash doesn’t fight with the cabinets or countertops. It should complement them, acting as a bridge or a quiet backdrop.
Countertops & Surfaces
The goal here is visual calm. Your checklist item: designate permanent homes for only 1-3 functional or beautiful items (e.g., a coffee station, a fruit bowl, a cutting board). Everything else gets stored. This surface is prime real estate; clutter here destroys any sense of coordination.
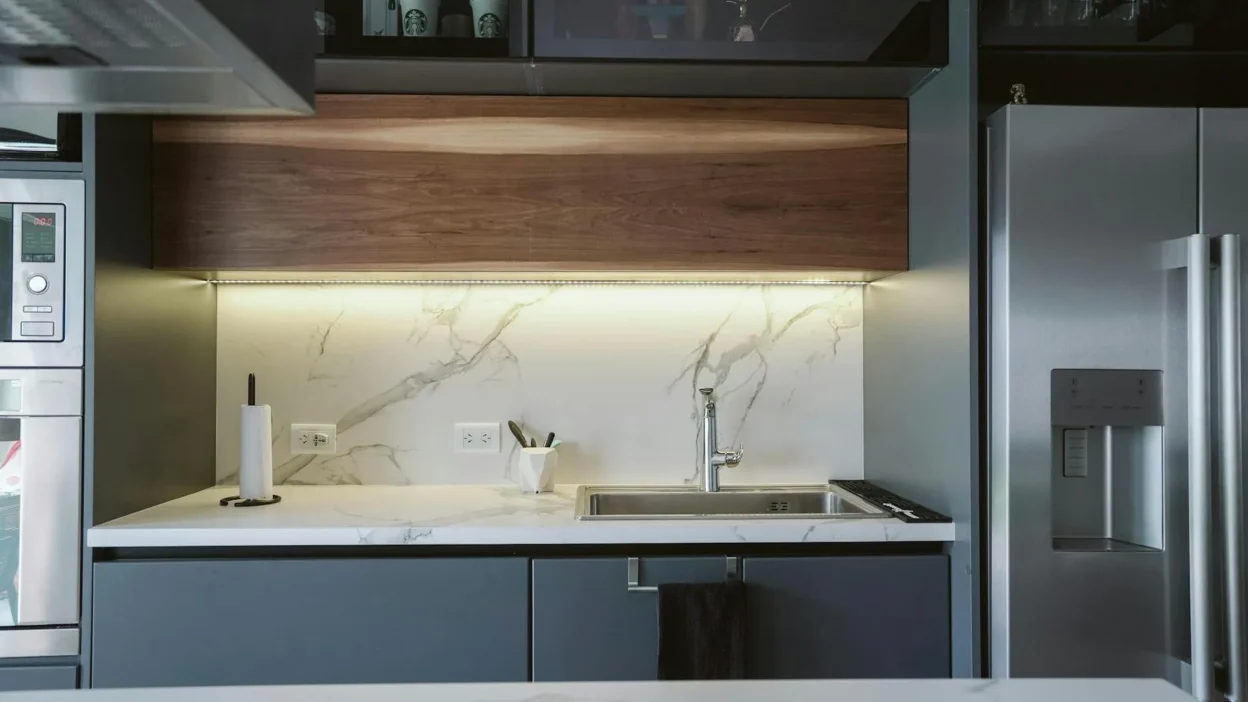
Lighting
Layer your lighting. Ensure you have good overall (ambient) light, task lighting under cabinets, and at least one decorative source, like a pendant over the island. The style of your light fixtures—industrial cage, woven rattan, simple glass globe—should be a direct reflection of your Style Core keywords.
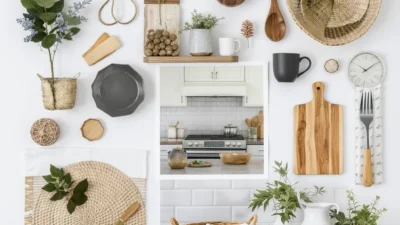
Final Decor & Textiles
This is the icing on the cake, not the foundation. Add a runner that picks up your color palette, a piece of art that fits your vibe, or a living herb plant for organic texture. This layer should feel intentional and sparse, not like a shelf of souvenirs.
Common Coordination Mistakes (And How to Avoid Them)
Even with a good plan, small missteps can break the coordinated kitchen look. Here’s how to sidestep the most frequent pitfalls.
Mistake: Too many metal finishes. Seeing stainless, brass, chrome, and black all in one sightline feels busy. Fix: Limit yourself to two, maybe three, complementary metal finishes. Let one dominate (e.g., stainless appliances), one accent (e.g., brass hardware), and any third be very minimal (e.g., a black faucet).
Mistake: Cluttered countertops. This is the number one enemy of a styled kitchen. Fix: Embrace the “clear surface” mantra from Step 1 as a permanent state. Use vertical storage (shelves, rails) and drawers to keep daily tools accessible but out of sight.
Mistake: Ignoring scale and proportion. A tiny rug in a large kitchen or a huge pendant over a small island feels off. Fix: Measure your space. A runner should leave 4-6 inches of floor visible on either side. A pendant’s diameter should be about 12 inches less than the width of your island.
Step 4 & 5: Edit Ruthlessly & Maintain the Vibe
After you’ve applied all your layers, take a critical step back. This editing phase is non-negotiable for achieving that fresh, intentional feel. Does every item support your Style Core? If something feels “off” or is just filling space, remove it. A powerful, simple rule for the future is “one in, one out.” When you bring a new item into the kitchen, let an old one go.
Maintaining your new kitchen aesthetic checklist is about habit, not constant effort. Commit to a nightly 5-minute reset: wipe counters, put away stray items, and ensure your key surfaces are clear. This tiny routine protects the calm, coordinated environment you’ve worked hard to create. The goal isn’t a museum; it’s a kitchen that feels effortlessly “you” every single day.
Your Kitchen, Your Style
Creating a fresh, coordinated kitchen doesn’t require a magic touch or a huge budget—it just needs a clear plan. This checklist is your plan. By breaking the process down into manageable steps—clearing, defining, layering, editing, and maintaining—you take the overwhelm out of the equation.
Start today with Step 1. Clear just one countertop and see how it feels. Trust the process, refer back to your Style Core when you’re unsure, and remember that editing is your secret weapon. You’re not just decorating a room; you’re crafting a space that supports your daily life with intention and calm. You’ve got this.