You walk into your kitchen, and instead of feeling inspired, you feel a familiar pang of frustration. The cabinets seem dated, the countertops are a cluttered no-man’s land, and the lighting does nothing but cast unflattering shadows. You know it needs a kitchen decor refresh, but the thought of a full renovation is overwhelming and expensive, leaving you stuck in a cycle of indecision. The good news? A transformative kitchen update doesn’t require you to gut the room or break the bank. It requires a plan. This guide is your structured roadmap out of that paralysis—a step-by-step protocol to assess your space, define a cohesive style, and strategically execute changes that breathe new life into your kitchen’s function and feel, all before you buy a single throw pillow or paint sample.
A successful kitchen decor refresh is a strategic process, not a random shopping spree. Start by thoroughly assessing your space’s pain points and strengths, then define a clear style vision and budget. Focus on impactful, non-permanent updates like paint, hardware, lighting, and decluttered storage to transform the room’s feel without the commitment of a full renovation.
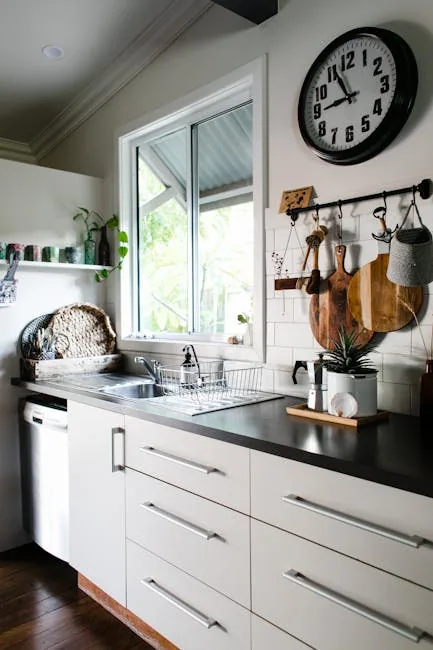
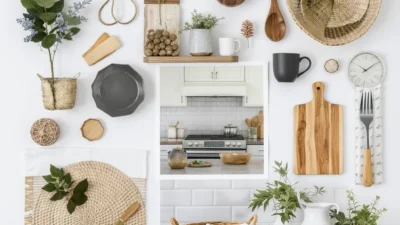
Photo by Rachel Claire on Pexels
Phase 1: The Mindset & Assessment Protocol
Before you look at a single paint swatch or browse hardware, the most critical step is a mental shift. A successful kitchen makeover begins with planning, not purchasing. This phase is about moving from a vague feeling of “I want a new kitchen” to a clear, data-driven understanding of what you actually have and what you truly need.
Conduct a Ruthless Kitchen Audit
Set aside an hour with a notepad and your phone’s camera. Go through your kitchen with a detective’s eye. This isn’t about judging your style; it’s about gathering facts. Open every cabinet and drawer. What’s in there? Is it organized or a jumble? Take photos of every angle, especially cluttered countertops and awkward corners. The camera reveals what your eye has learned to ignore.
As you audit, create two lists: Functional Pain Points and Aesthetic Grievances. The first list includes things like “not enough prep space,” “poor lighting over the sink,” or “pots and pans are hard to access.” The second list covers “hate the cabinet color,” “backsplash is dated,” or “floor feels cold.” This separation is crucial—it ensures your final plan solves real problems, not just surface ones. For a deeper dive on optimizing your existing footprint, resources like the National Kitchen & Bath Association’s guidelines on kitchen layouts can be helpful.
Define Your Style Roadmap: From Inspiration to Cohesion
With your assessment complete, it’s time to dream—but with focus. The biggest hurdle here is often having too many ideas. You might love the clean lines of modern design, the warmth of farmhouse style, and the moodiness of a dark, dramatic kitchen. The key is to distill these inspirations into a single, cohesive direction that works for your life and your existing space.
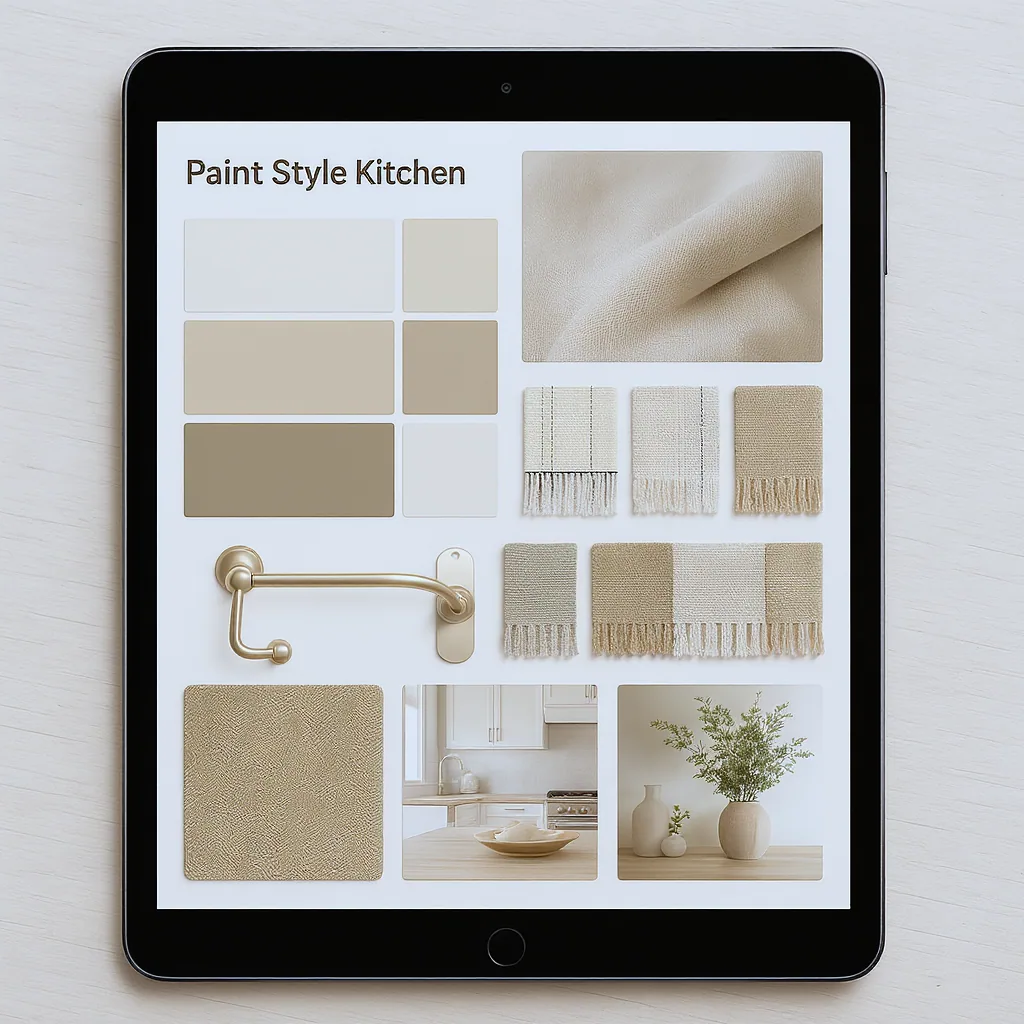
Start by creating a digital mood board using an app like Pinterest or Canva. Don’t just save pretty pictures; analyze them. What common threads emerge? Is it a specific color (sage green, navy), a material (oak, marble, black steel), or a feeling (airy, cozy, minimalist)? Pull 2-3 paint colors, a hardware finish, a countertop material, and a flooring texture that all live together harmoniously on your board.
Find Your Style Anchor
If you’re stuck, identify one fixed element in your current kitchen that you either love or cannot change. This becomes your “style anchor.” For example, if you have warm oak floors, build a palette that complements them. If you have stainless steel appliances, let their cool tone guide your hardware and fixture finishes. This anchor ensures your new style works with, not against, the permanent features of your home.
The Budget & Priority Matrix: Smart Allocation for Maximum Impact
Let’s talk numbers. A realistic budget is the engine of your project. First, decide on a total amount you’re comfortable spending. Then, break it down into categories. A common sample allocation for a mid-range refresh might look like: 25% for lighting, 20% for paint/supplies, 15% for hardware and faucets, 20% for storage/organization, 15% for decor/textiles, and 5% as a contingency fund.
The real magic, however, is in prioritization. Not all updates give you the same bang for your buck. Use the simple matrix below to categorize your wishlist from your audit. This visual tool helps you make strategic decisions, especially when you need to refresh kitchen decor on a budget.

Your Action Order
Based on the matrix, your execution order becomes clear:
- Attack the High-Impact, Low-Cost Quadrant First: Paint, decluttering, and new hardware deliver dramatic visual change for relatively little money and effort.
- Evaluate High-Impact, High-Cost Items Carefully: New lighting or a backsplash can be worth the splurge, but shop around and consider DIY-friendly options.
- Do the Low-Impact, Low-Cost Tasks as You Go: A deep clean or replacing a switch plate is easy and contributes to the finished feel.
- Question Low-Impact, High-Cost Projects Entirely: Does replacing a perfectly functional but slightly dated appliance move the needle enough for its cost? Often, the answer is no.
The Surface Strategy: Walls, Backsplash, and Countertops
Surfaces set the stage. Updating them is often the most transformative part of a kitchen style refresh. The good news is you have more options than ever that don’t require a full demolition.
Cabinets & Walls: The Power of Paint
Painting cabinets is the ultimate high-impact project. The key is in the prep (cleaning, sanding, priming) and the product. For cabinets, a durable satin or semi-gloss enamel is essential. For walls, consider the kitchen’s activity: eggshell or satin finishes are easier to wipe clean than flat matte. Always, always test large swatches on your cabinets and walls. Observe them at different times of day under your kitchen’s unique lighting.
Creative Backsplash & Countertop Solutions
If tile isn’t in the budget, peel-and-stick tile or backsplash panels offer a convincing and removable update. For countertops, professional resurfacing kits can change the color and pattern of laminate. If you have dated but solid wood counters, a thorough sanding and a food-safe oil refresh can work wonders. Remember, the goal of these kitchen refresh ideas is to improve what you have, not necessarily to achieve magazine-perfect permanence on day one.
Hardware, Lighting, and the ‘Jewelry’ of the Kitchen
This is where personality and function merge. Swapping out cabinet hardware and updating lighting are like changing the jewelry and makeup on an outfit—it elevates everything else.
Consider the daily reality: you’re trying to read a recipe or safely chop vegetables, but your body casts a shadow over the counter because the only light is a single ceiling fixture. This functional frustration is solved by layered lighting. After installing simple plug-in under-cabinet LED strips, the task area is brilliantly illuminated, making cooking safer and more enjoyable. It’s a small change with an outsized impact on daily life.
A Mini-Checklist for Updates
- Hardware: Choose a finish (e.g., matte black, brass, nickel) that complements your faucet and appliances. Decide on a mix of knobs (for doors) and pulls (for drawers) for visual interest. Ensure the scale is right—larger cabinets need larger hardware.
- Lighting: Implement three layers: Ambient (overhead ceiling lights), Task (under-cabinet, over-sink), and Accent (pendant over an island, interior cabinet lights). Dimmable switches are a game-changer for mood.
- Faucet: A new faucet with a pull-down sprayer and updated finish instantly modernizes the sink area.
Storage Solutions and Decluttering for Function
A beautiful kitchen that doesn’t function is a stage set. True transformation happens when every item has a logical, accessible home. This step is non-negotiable and often the most rewarding part of a kitchen update.
The golden rule: Edit before you organize. Remove everything from a cabinet or drawer. Be ruthless. Donate duplicates, recycle expired goods, and toss anything broken. You cannot organize clutter; you can only store it. Once you’ve pared down, you’ll likely find you have more space than you thought.
Intelligent Organizers
Now, invest in organizers that solve your specific pain points. This isn’t about buying a matching set from a store; it’s about targeted solutions. Use tiered shelf risers in deep cabinets, drawer dividers for utensils, a vertical tray for baking sheets, and lazy Susans in corner cabinets. The goal is to maximize every cubic inch of your existing storage, making your daily routines effortless. For inspiration on minimalist approaches, exploring concepts like minimalist living can provide a helpful philosophical framework.
Bringing it All Together: Decor, Textiles, and Final Styling
After the heavy lifting, this is the fun part: adding the soul back in. The trick is to do it intentionally, so you don’t recreate the visual clutter you just eliminated. Think of your countertops, open shelves, and walls as curated displays.
Start with utility and beauty. A beautiful wooden cutting board leaned against the backsplash, a ceramic canister for everyday utensils, a small pot of fresh herbs on the windowsill. Use the “rule of three” for groupings—vary heights and textures (e.g., a tall vase, a medium bowl, a low candle). Incorporate natural elements like wood, stone, or woven materials to add warmth against harder surfaces.
Textiles for Softness
Window treatments and a rug are the soft furnishings that make a kitchen feel inviting. A simple Roman shade in a natural linen or a washable runner in front of the sink adds pattern, color, and comfort. These elements are also easy and relatively inexpensive to change later, making them perfect for experimenting with your style.
Common Kitchen Refresh Pitfalls and How to Sidestep Them
Even with a great plan, it’s easy to stumble. Being aware of these common mistakes can save you time, money, and regret.
The Mistake: Buying decor and accessories first, before addressing foundational issues like paint or lighting.
The Sidestep: Stick to your phased plan. Shop for decor in the final stage, when you can see exactly what the space needs.
The Mistake: Choosing a hyper-trendy color or finish for a permanent or expensive element (like cabinet paint or a tile backsplash).
The Sidestep: Use trends in removable ways—through wall color (easier to repaint), textiles, or decor items. Keep big-ticket items in more timeless finishes.
The Mistake: Ignoring function for form, like choosing a stunning but tiny pendant light that leaves your island in the dark.
The Sidestep: Always pair aesthetic choices with a functionality check. Does it provide enough light? Is the hardware comfortable to grip? Is the rug safe and easy to clean?
The Mistake: Forgetting about maintenance. Choosing a matte black faucet in a hard water area or a light-colored grout can become a daily cleaning battle.
The Sidestep: Consider your household’s reality when selecting materials and finishes. Durability and ease of cleaning are key components of long-term satisfaction.
Your Execution Timeline: Putting the Plan into Action
A plan without a timeline is just a wish. To avoid overwhelm and life disruption, break your kitchen transformation into manageable phases over a few weeks.
Week 1: Prep & Procurement Week
This is for final decisions and gathering. Order all paint samples, hardware, and light fixtures. Purchase supplies (brushes, drop cloths, organizers). Complete your decluttering edit. This week is about setup, not execution.
Week 2: Surface Week
Execute your paint plan (walls, then cabinets if applicable). Apply any temporary backsplash solutions. This is the messiest phase, so plan meals accordingly.
Week 3: Hardware & Lighting Week
Install your new cabinet hardware, faucet, and light fixtures. This phase delivers huge visual rewards and makes the space feel new and functional.
Week 4: Styling & Final Touch Week
Bring in your organizers and arrange them. Style your countertops and open shelves with your curated decor. Lay down the new rug. Step back and enjoy your refreshed space.
This timeline is flexible—stretch it out over weekends if needed. The pace is less important than the deliberate, planned progress.
Your Roadmap Awaits
You started this journey feeling stuck with a kitchen that didn’t spark joy, overwhelmed by the sheer number of possibilities. Now, you have something far more powerful than inspiration: you have a clear, personalized, and actionable roadmap. This structured approach turns the intimidating prospect of a kitchen makeover into a series of manageable, confidence-building steps.
The transformation won’t happen in a single day, but it will happen with each decision you make from this plan. Trust the process you’ve built—from that initial ruthless audit to the final styling touch. Remember, a successful kitchen decor update isn’t about achieving perfection from a catalog; it’s about creating a space that reflects your style and seamlessly supports your daily life. Take a deep breath, start with Phase 1, and watch your kitchen—and your confidence—evolve, one checked-off step at a time.
This kitchen refresh roadmap is built on a few core, actionable principles. Keep this mini-checklist in mind as you move from planning to doing:
- Plan First, Shop Later: Avoid impulsive buys. Every purchase should be a deliberate checkmark on your assessed needs and style board.
- Function Before Form: Solve the daily pain points (lighting, storage, workflow) first. A beautiful kitchen must also work beautifully.
- Surfaces & Lighting Are Transformative: Strategic updates to paint, hardware, and layered lighting deliver the most visual impact for your investment.
- Edit Ruthlessly, Then Organize: You cannot organize clutter. Reduce what you own first, then find smart storage solutions for what remains.
- Style with Intention: Add personality back through curated decor and textiles, not by letting clutter creep back onto clear surfaces.
Q: What is the most cost-effective way to refresh kitchen decor?
A: The most impactful, budget-friendly changes are paint, new hardware, and a strategic declutter. A fresh coat of paint on walls or cabinets changes the entire mood. Swapping out dated knobs and pulls for modern ones is like giving your kitchen new jewelry. Finally, clearing and organizing countertops costs nothing but instantly makes the space feel larger and more intentional.
Q: Can I refresh my kitchen decor without painting cabinets?
A: Absolutely. If painting cabinets isn’t an option, focus on other surfaces and elements. Update the wall color, install a new backsplash (even with peel-and-stick tiles), change the lighting fixtures and hardware, and add a vibrant runner rug. These changes draw the eye away from the cabinets and create a cohesive, updated look around them.
Q: How do I choose a kitchen color palette that won’t feel dated quickly?
A: Anchor your palette with timeless neutrals for large, permanent surfaces (walls, cabinets, counters). Then, introduce color and trend through easier-to-change elements like wall paint (an accent wall), textiles (curtains, rugs), decor, and even dishware. This gives you flexibility to update the look in a few years without a major renovation.
Q: What should I prioritize if I have a very small budget?
A: Prioritize these three, in order: 1) A deep, whole-kitchen declutter (free). 2) A fresh coat of paint on the walls (low cost). 3) New cabinet hardware (moderate cost). This combination of clearing, brightening, and detailing will make the space feel clean, updated, and cared-for without a significant financial outlay.
Q: How long does a typical kitchen decor refresh project take from planning to finish?
A: With a solid plan, a full refresh can be comfortably executed over 3-6 weekends. Week 1 is planning/shopping, Week 2 for painting, Week 3 for installing fixtures/hardware, and Week 4 for organizing and styling. Spreading it out allows you to live in the space without major disruption and make thoughtful decisions as you go.